Construction
Once a preliminary design is complete, the next step is to create an initial prototype, known in the industry as a Whitewood.
Whitewood
The origin of the term whitewood is related to the material of the playfield, which is traditionally White Maple. The first iteration of a game will not have any artwork or lighting as the purpose is to test the layout, flipper shots and the overall feel of the design to confirm it plays as expected.
The second iteration of the whitewood - generally a different playfield rather than the existing one re-cut - will include inserts, lighting and any ramps or playfield devices needed for the complete game. This version of the prototype is used to create the first iteration of the ruleset and special effects.
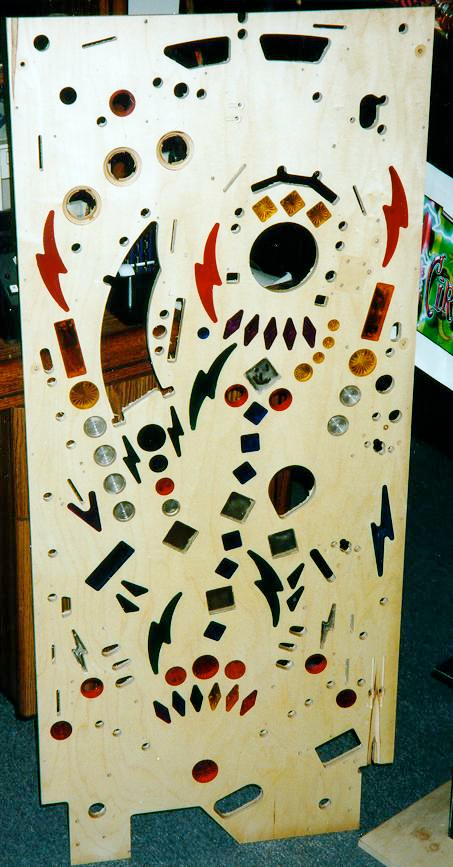
Here is an unpopulated whitewood for Cirqus Voltaire, which is a later iteration that does have inserts for lighting, but not yet having artwork.
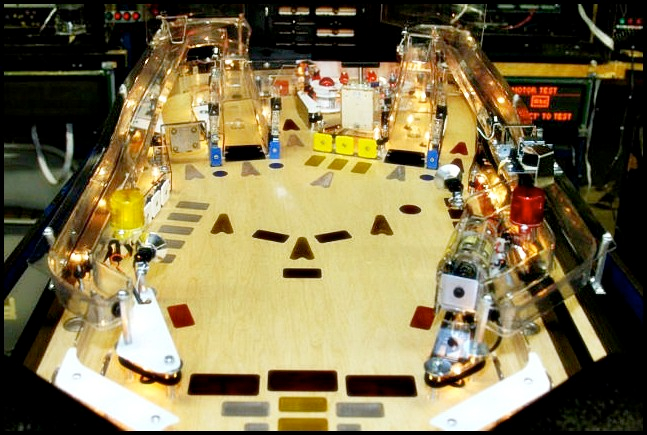
Here is a populated whitewood for AC/DC, which does not have the later sub-playfield so is much earlier in the design process.
Tools
Basic Tools
Beyond the standard hand tools needed to create a machine from scratch, here are some additional tools:
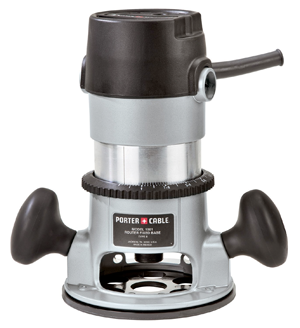
A hand router for creating insert and device holes in the playfield.
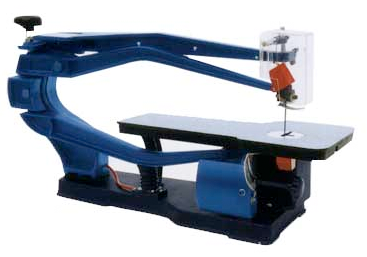
A table jigsaw for cutting playfield plastics, or plexi for your initial whitewood inserts.
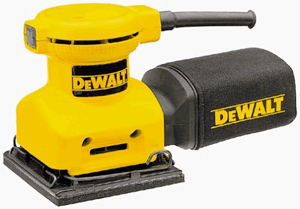
A hand sander to level the playfield. You should also have sand paper in various grits ranging from 180 up to 320, plus finer grits for final polishing.
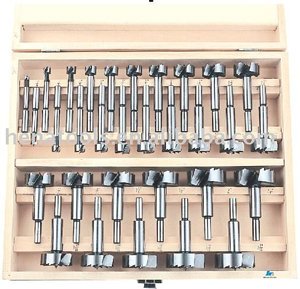
Forstner bits for drilling clean holes. Easier than using the router.
Cabinet Tools
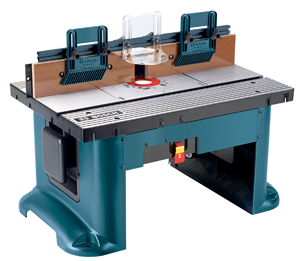
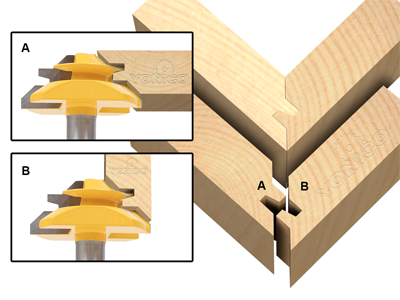
For cabinet building, a table router with Locking Mitre bits.
These are a matched set of bits that create a locking edge between cabinet corners.
Advanced Tools
Although not strictly needed for hobbyists, the following are nice-to-have if you have some deep pockets, and they make whitewood production much faster and far more consistent. Rather than purchasing these, the best option is to find a local Maker Space that has the equipment available for rent or through a monthly membership.
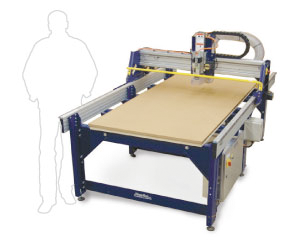
A large-format CNC machine can take drawings from AutoCAD or Inkscape to cut a playfield exactly to the design, which will be much more accurate than one done by hand with a router.
Some reasonably-priced options include ShopBOT or GeneralCNC. There are smaller ones available in the $2K range but they won't be large enough to cut a full playfield.
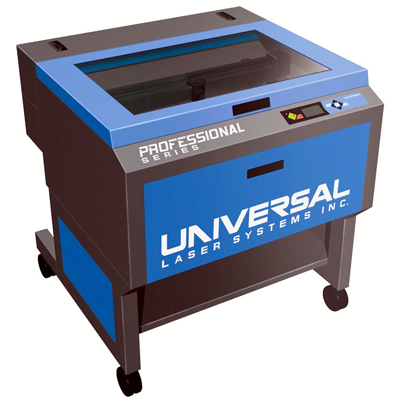
Using a laser cutter on plastics means fast prototyping of playfield plastics, and most cutters will also do engraving for interesting effects. Really high powered units will cut wood as well.
Some examples include Epilog and Universal.
A lower cost option is the Full Spectrum Laser.
Materials
A rundown of the various materials needed to produce a whitewood.
Plywood
Commercial pinball machines use a specially sourced type of plywood that is not available from big box stores and generally not even specialty wood suppliers.
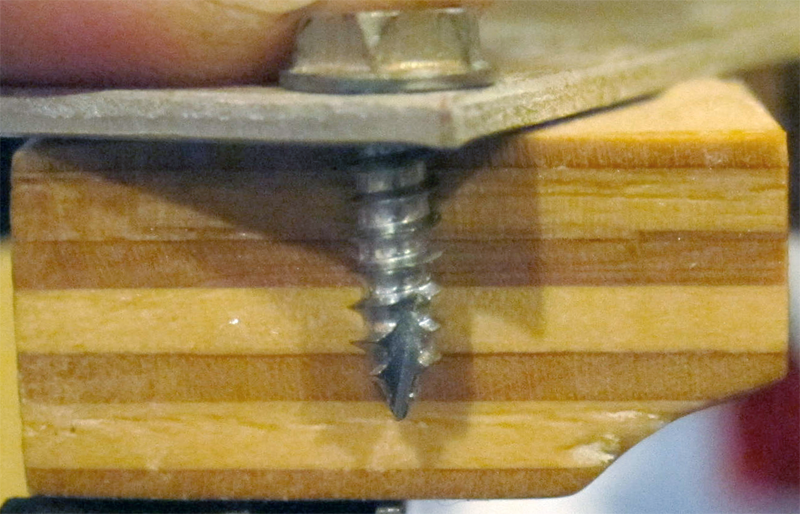
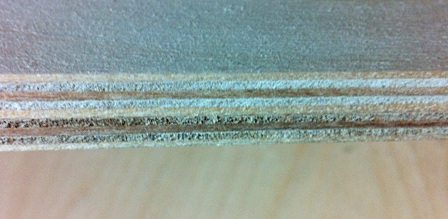
The thickness of a raw playfield is 17/32", which is then sanded on top with inserts installed to a finished size of 1/2". Each side is a full face of hard Maple with five plys in-between, not a thin veneer to allow for this sanding. The following photo illustrates the full seven plys:
The type of plywood available at a big box store will have a thin ply on both sides, generally of softer Baltic Birch, and will not have the surface area to allow a full 1/32" sanding to level the surface and inserts together.
For hobbyists, the best option is Cabinet Grade plywood, preferably from a lumber yard, with a minimum of seven plys but a preference for nine - the more plys, the more stable and flat. This type of plywood will have a thicker top and bottom ply suitable for sanding. It will generally be the softer birch but for one-off games, it should prove acceptable.
Another affordable option for whitewoods is Medium Density Fibreboard. Typically sold as MDF, it is also available in large quantities. The drawback for MDF is that it has poor flexibility and does not allow for easy removal and re-installation of screwed in parts.
Inserts
For a whitewood, the easiest option is to use thin plexiglass for inserts as it is readily available and fairly easy to cut to size with a table jigsaw. This allows for skipping the final sanding stage if using 1/2" plywood instead of 17/32".
Real pinball inserts are available in various sizes and colors from a number of suppliers including Pinball Resource and Marco Specialities.
Some examples of the inserts available:
5/8″ round White opaque #PI-58RW
1-1/2″ triangle Green #PI-112TGT
Rollover star button housing red 3A-7537 #C-901
Standard depth of inserts are 1/4" and they are designed to be sanded flat after installation - there will be a number cast into the top of the part and the top edge will be slightly raised around the radius by approximately 1/32". Thus, when creating insert holes, you must drill slightly less than 1/4" deep to allow for the sanding.
Playfield Parts
The best source of parts like switch targets, pop bumpers, posts and other miscellaneous bits is from parts machines - picking up a used machine with a worn playfield and just cleaning up those parts will be ten times cheaper than buying all new parts.
However, given the increasing value of even older solid-state machines, finding games to part out is becoming increasingly difficult, so the only option may be purchasing new.
Electronics
Once the physical playfield is constructed, wiring it all together and adding a way to control the devices will be required. There are three basic options - use existing pinball boards, build custom control boards or purchase off-the-shelf units.
Existing Boards
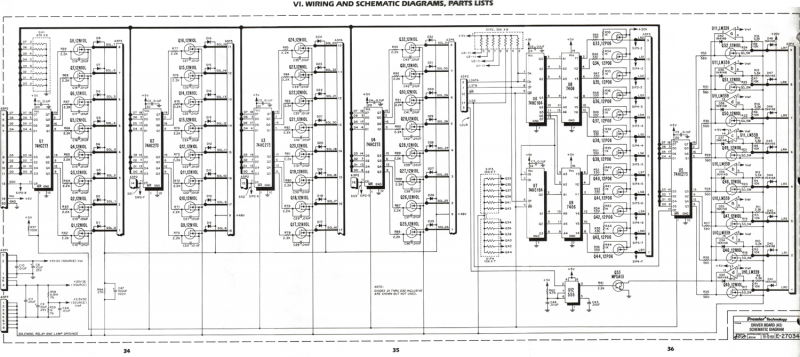
A popular option is using boards from existing machines and replacing the main controller. For example, the Gottlieb System 3 driver board uses modern MOSFET drivers, supports 32 coils and a 8x10 lamp matrix, and is available for $100 from Pinball Resource.
Another well documented system is the original Bally system.
Custom Boards
TBD
Off-the-Shelf Boards
P-ROC (Pinball - Remote Operations Controller) is a well-supported generic platform that is in use by many custom games. It has a dedicated forum.
FAST Pinball is the new kid on the block that will be bringing out a controller in 2015.
Both of those systems require an external PC with USB to provide the signals to control the solenoids and lamps. Currently these small ARM-based boards are the best candidates as they are more powerful than the Raspberry Pi or Arduino boards:
O-DROID : Quad-core CPU, dual-core GPU, 1GB DDR3 RAM, Gigabit Ethernet , 4x USB2.0 ports.
Beaglebone Black: AM335x 1GHz ARM® Cortex-A8, 512MB DDR3 RAM, 4GB 8-bit eMMC on-board flash storage
Wiring
Prototyping
Many hobbyists plan on producing games with game-specific features that aren't included in other machines, such as ramps or ball control devices, and thus will have to design and construct mechanisms from scratch. This generally involves metalworking and other more advanced skills, but are not beyond the garage hobbyist.
Tools
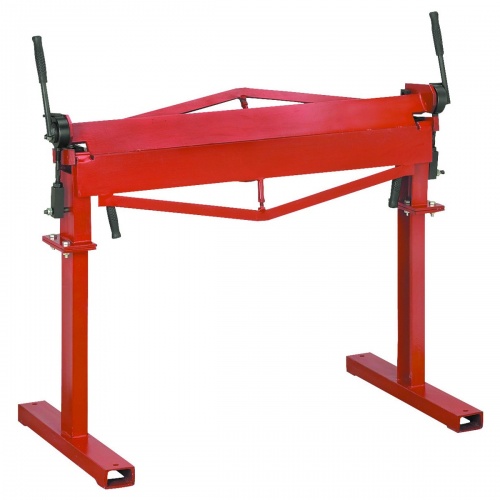
Beyond the basic tools, a metal brake is useful for bending sheet steel to make brackets.
The above example is available from Harbor Freight.
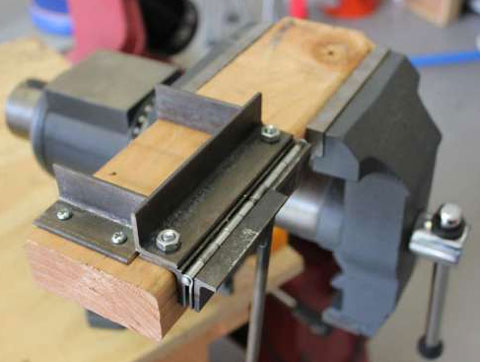
If space is at a premium, there are smaller tabletop versions as well.
If cost is an issue, you can make your own from common hardware store parts.
