Construction
Once a preliminary design is complete, the next step is to create an initial prototype, known in the industry as a Whitewood.
Cabinet
Made from 3/4" plywood, usually jointed at the corners. Some of the considerations when designing or building a pinball cabinet include:
- Switch locations
- Side rails
- Lockdown bar mechanism
- Plunger height
- Coindoor size
- Leg mounting brackets
- Speaker bezel
There are typically two cabinet styles, Standard body and Wide body.
Whitewood
The origin of the term whitewood is related to the material of the playfield, which is traditionally White Maple. The first iteration of a game will not have any artwork or lighting as the purpose is to test the layout, flipper shots and the overall feel of the design to confirm it plays as expected.
The second iteration of the whitewood - generally a different playfield rather than the existing one re-cut - will include inserts, lighting and any ramps or playfield devices needed for the complete game. This version of the prototype is used to create the first iteration of the ruleset and special effects.
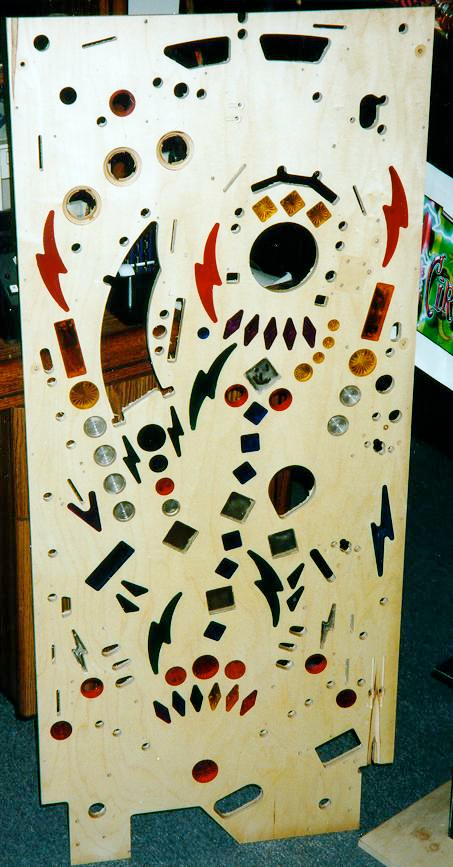
Here is an unpopulated whitewood for Cirqus Voltaire, which is a later iteration that does have inserts for lighting, but not yet having artwork.
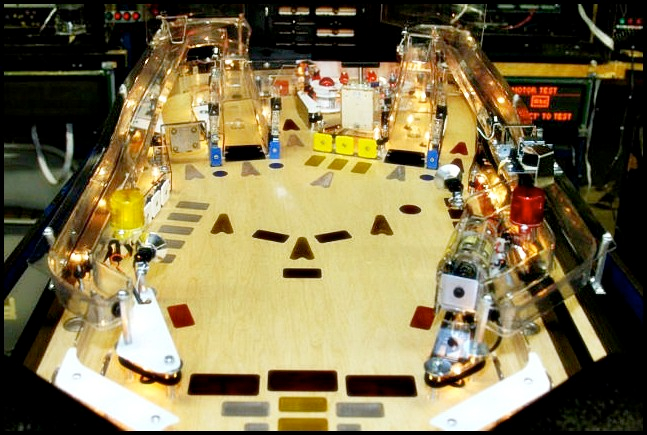
Here is a populated whitewood for AC/DC, which does not have the later sub-playfield so is much earlier in the design process.
Typically a playfield is made of 9-ply birch plywood, 17/32" thick with the additional 1/32" allowing for the inserts to be sanded flush. A number of European manufacturers used plastic playfields, and some domestic companies experimented with them in the 1970's, but the vast majority use plywood.
Standard Playfield Sizes
The following is a list of the standard sizes used by various manufacturers.
| Company | Type | Style | Inches | Virtual Pixels |
|---|---|---|---|---|
| Alvin G | SS | Standard | 20.25" x 42.00" | 952 x 1974 |
| Alvin G | SS | Mystery Castle | 20.25" x 46.00" | 952 x 2162 |
| Atari | SS | Widebody | 27.00" x 45.00" | 1269 x 2115 |
| Bally | EM | Standard | 20.25" x 41.00" | 952 x 1927 |
| Bally | SS | Standard | 20.25" x 42.00" | 952 x 1974 |
| Bally | SS | Widebody | 26.75" x 40.50" | 1257 x 1904 |
| Capcom | SS | Standard | 20.25" x 46.00" | 952 x 2162 |
| Data East | SS | Standard | 20.25" x 46.00" | 952 x 2162 |
| Data East | SS | Widebody | 25.00" x 51.75" | 1175 x 2432 |
| Game Plan | SS | Standard | 20.25" x 42.00" | 952 x 1974 |
| Gottlieb | EM | Standard | 20.25" x 41.00" | 952 x 1927 |
| Gottlieb | System 1 | Standard | 20.25" x 42.00" | 952 x 1974 |
| Gottlieb | System 80 | Standard | 20.25" x 42.00" | 952 x 1974 |
| Gottlieb | System 80 | Widebody | 23.75" x 46.50" | 1116 x 2186 |
| Gottlieb | System 80 | Circus (Extra Wide) | 26.75" x 46.50" | 1258 x 2186 |
| Gottlieb | System 3 | Standard | 20.25" x 46.00" | 952 x 2162 |
| Stern | SS | Standard | 20.25" x 42.00" | 952 x 1974 |
| Stern | SS | Widebody | 23.875" x 45.00" | 1122 x 2115 |
| Stern | Whitestar / SAM | Standard | 20.25" x 45.00" | 952 x 2115 |
| Williams | System 1-11 | Standard | 20.25" x 42.00" | 952 x 1974 |
| Williams | System 1-11 | Widebody | 27.00" x 42.00" | 1269 x 1974 |
| WMS | WPC | Safecracker | 16.50" x 41.50" | 776 x 1950 |
| WMS | WPC (through 1987) | Standard | 20.50" x 42.00" | 964 x 1974 |
| WMS | WPC (1987 on) | Standard | 20.50" x 46.00" | 964 x 2162 |
| WMS | WPC | Superpin (Widebody) | 23.25" x 46.00" | 1093 x 2162 |
| WMS | Pinball 2000 | Standard | 20.50" x 43.00" | 964 x 2021 |
| Zaccaria | SS | Standard | 20.25" x 42.00" | 952 x 1974 |
Cutting for Inserts
(Sourced from a tutorial by Josh Kugler) [1]
Before proceeding with any cutting, a completed playfield drawing is needed, to be used as a template. For details on that portion of the process, visit the Design section of the wiki. One tip that will help later is to add centering holes to all the drilled inserts to aid in proper placement.
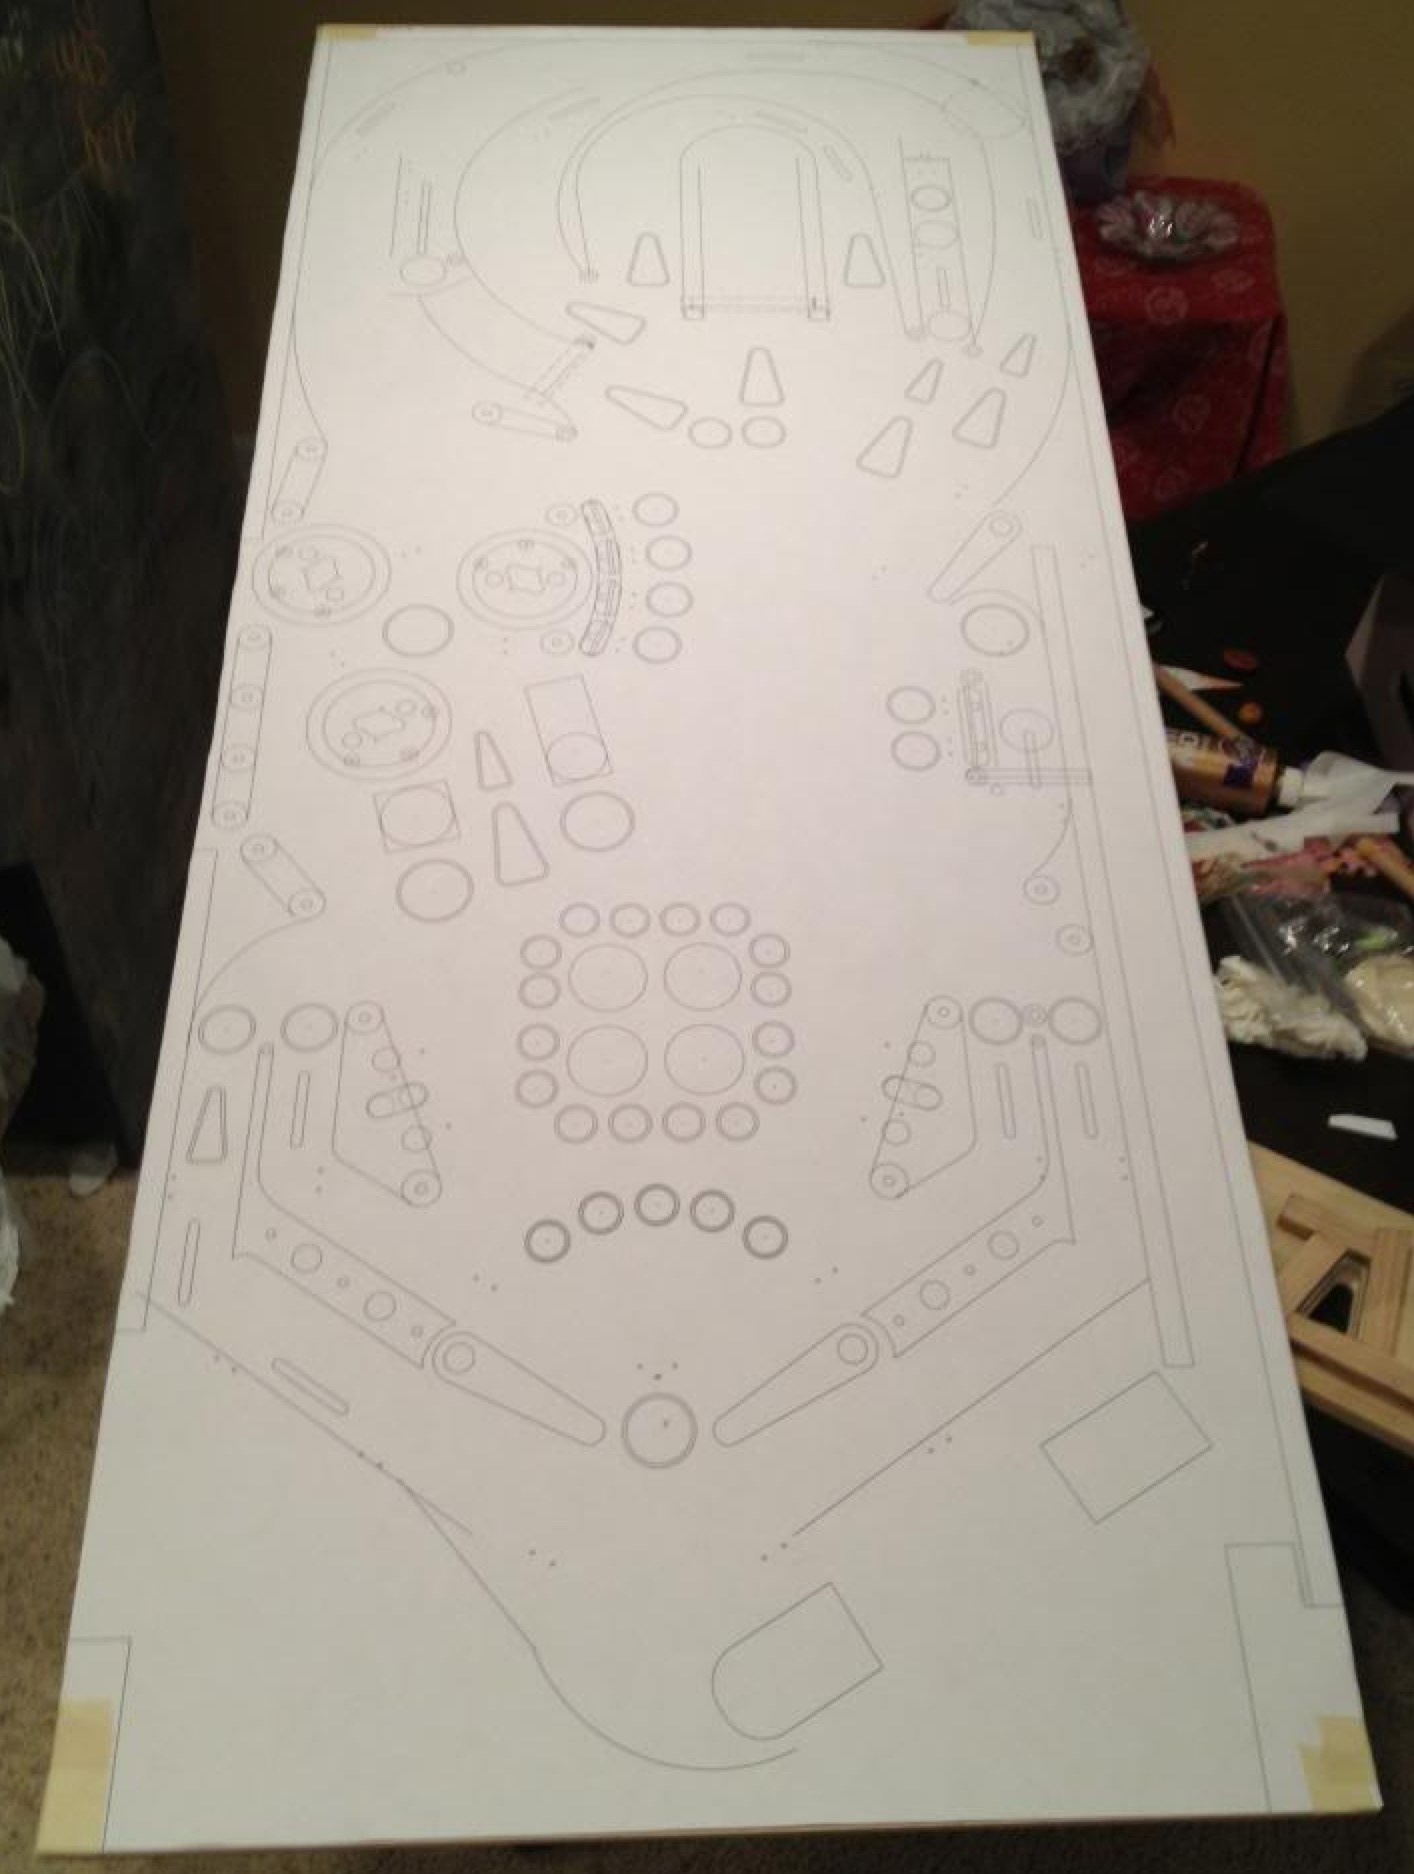
Once complete, take the file to a FedexOffice or similar Printing House and have it printed full size. Use 3M Spray adhesive to glue the print to your playfield surface. This print acts as your drilling and cutting template.
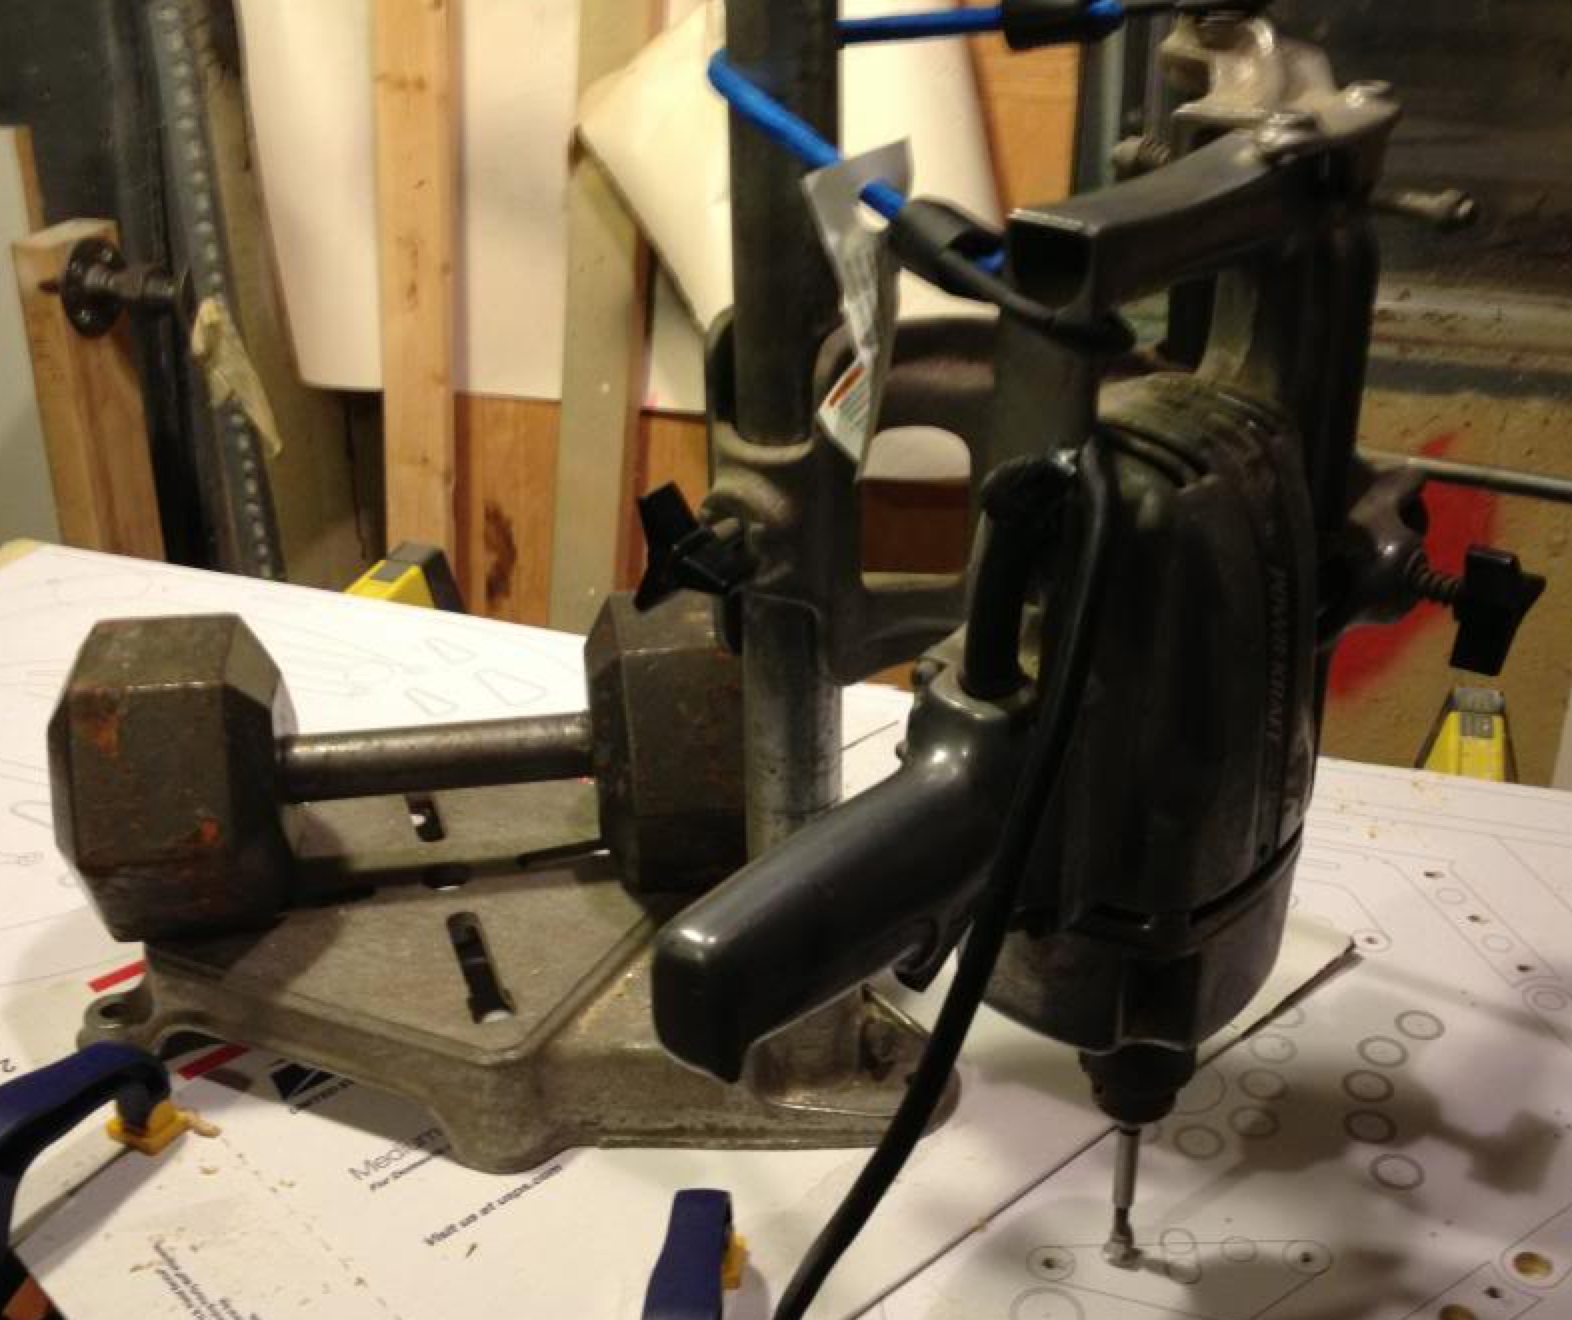
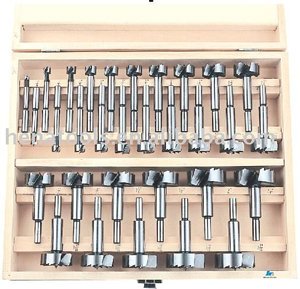
Use two Forstner bits for each insert. The first is the wider opening that is the same size as the insert, drilled to the appropriate depth of the insert which is typically 1/4". The second bit is 1/16" smaller can then be used to drill the through hole. This leaves a 1/32" lip for the insert to sit on.
Since the Forstner bit has a centering point there is a natural centering hole for the second bit, making it easier to get it lined up right. The cleanest technique is to drill just short of going through, and then complete the hole from the other side using a standard cordless drill.
Don’t do the three steps in order per hole, but the first step for a bunch of holes, then the second and third.
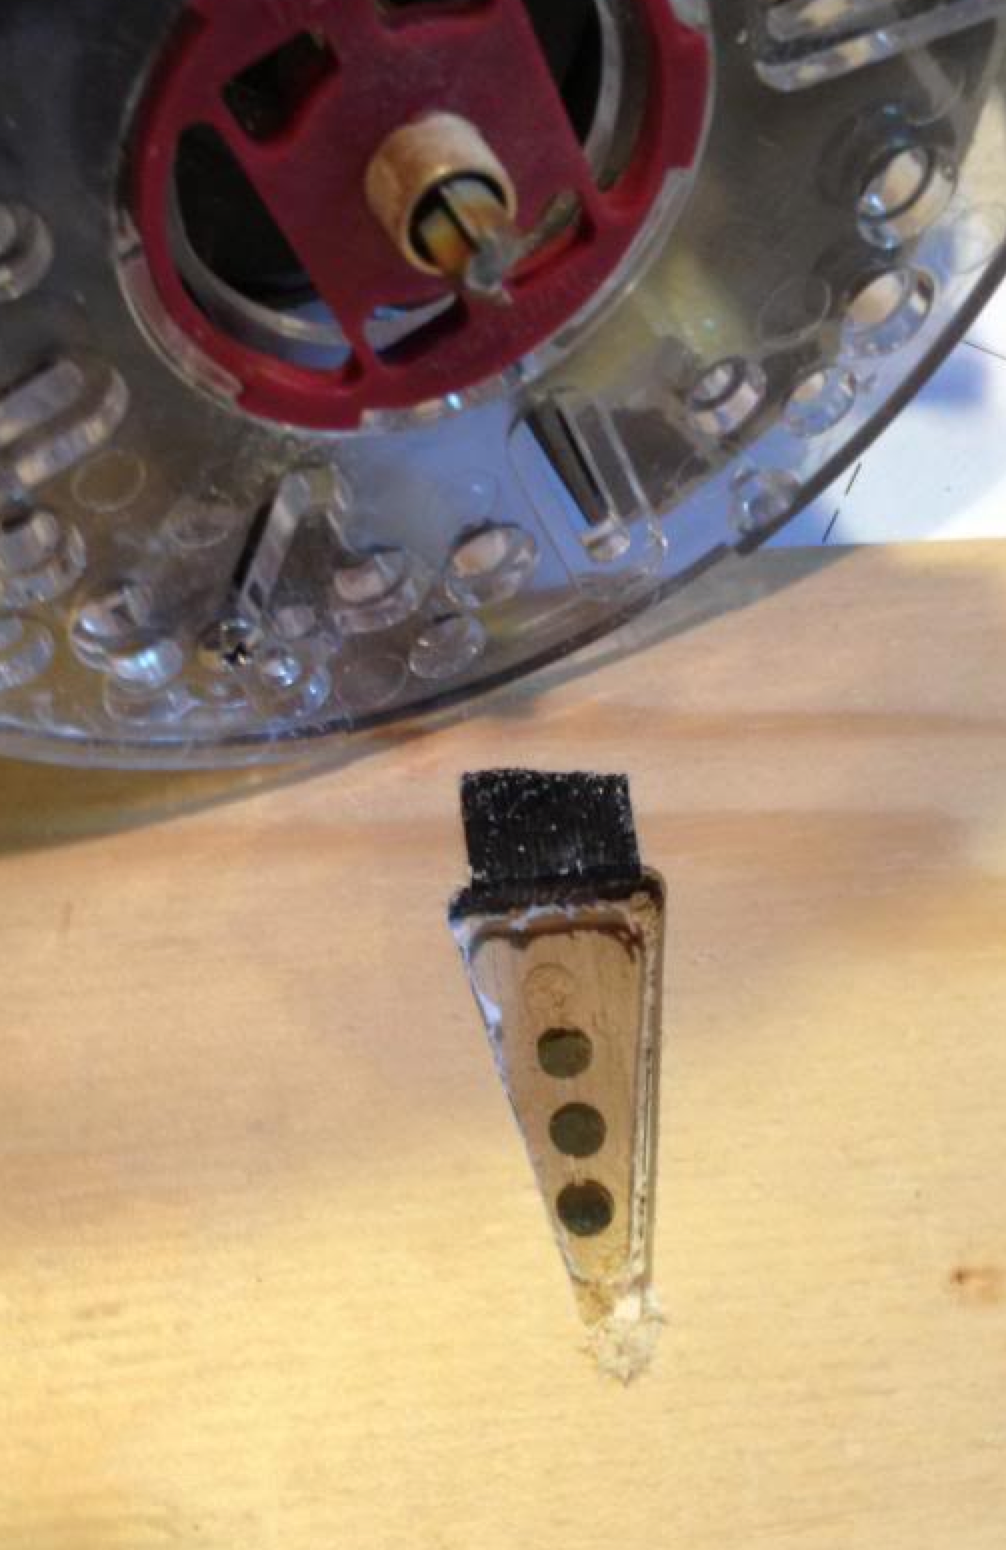
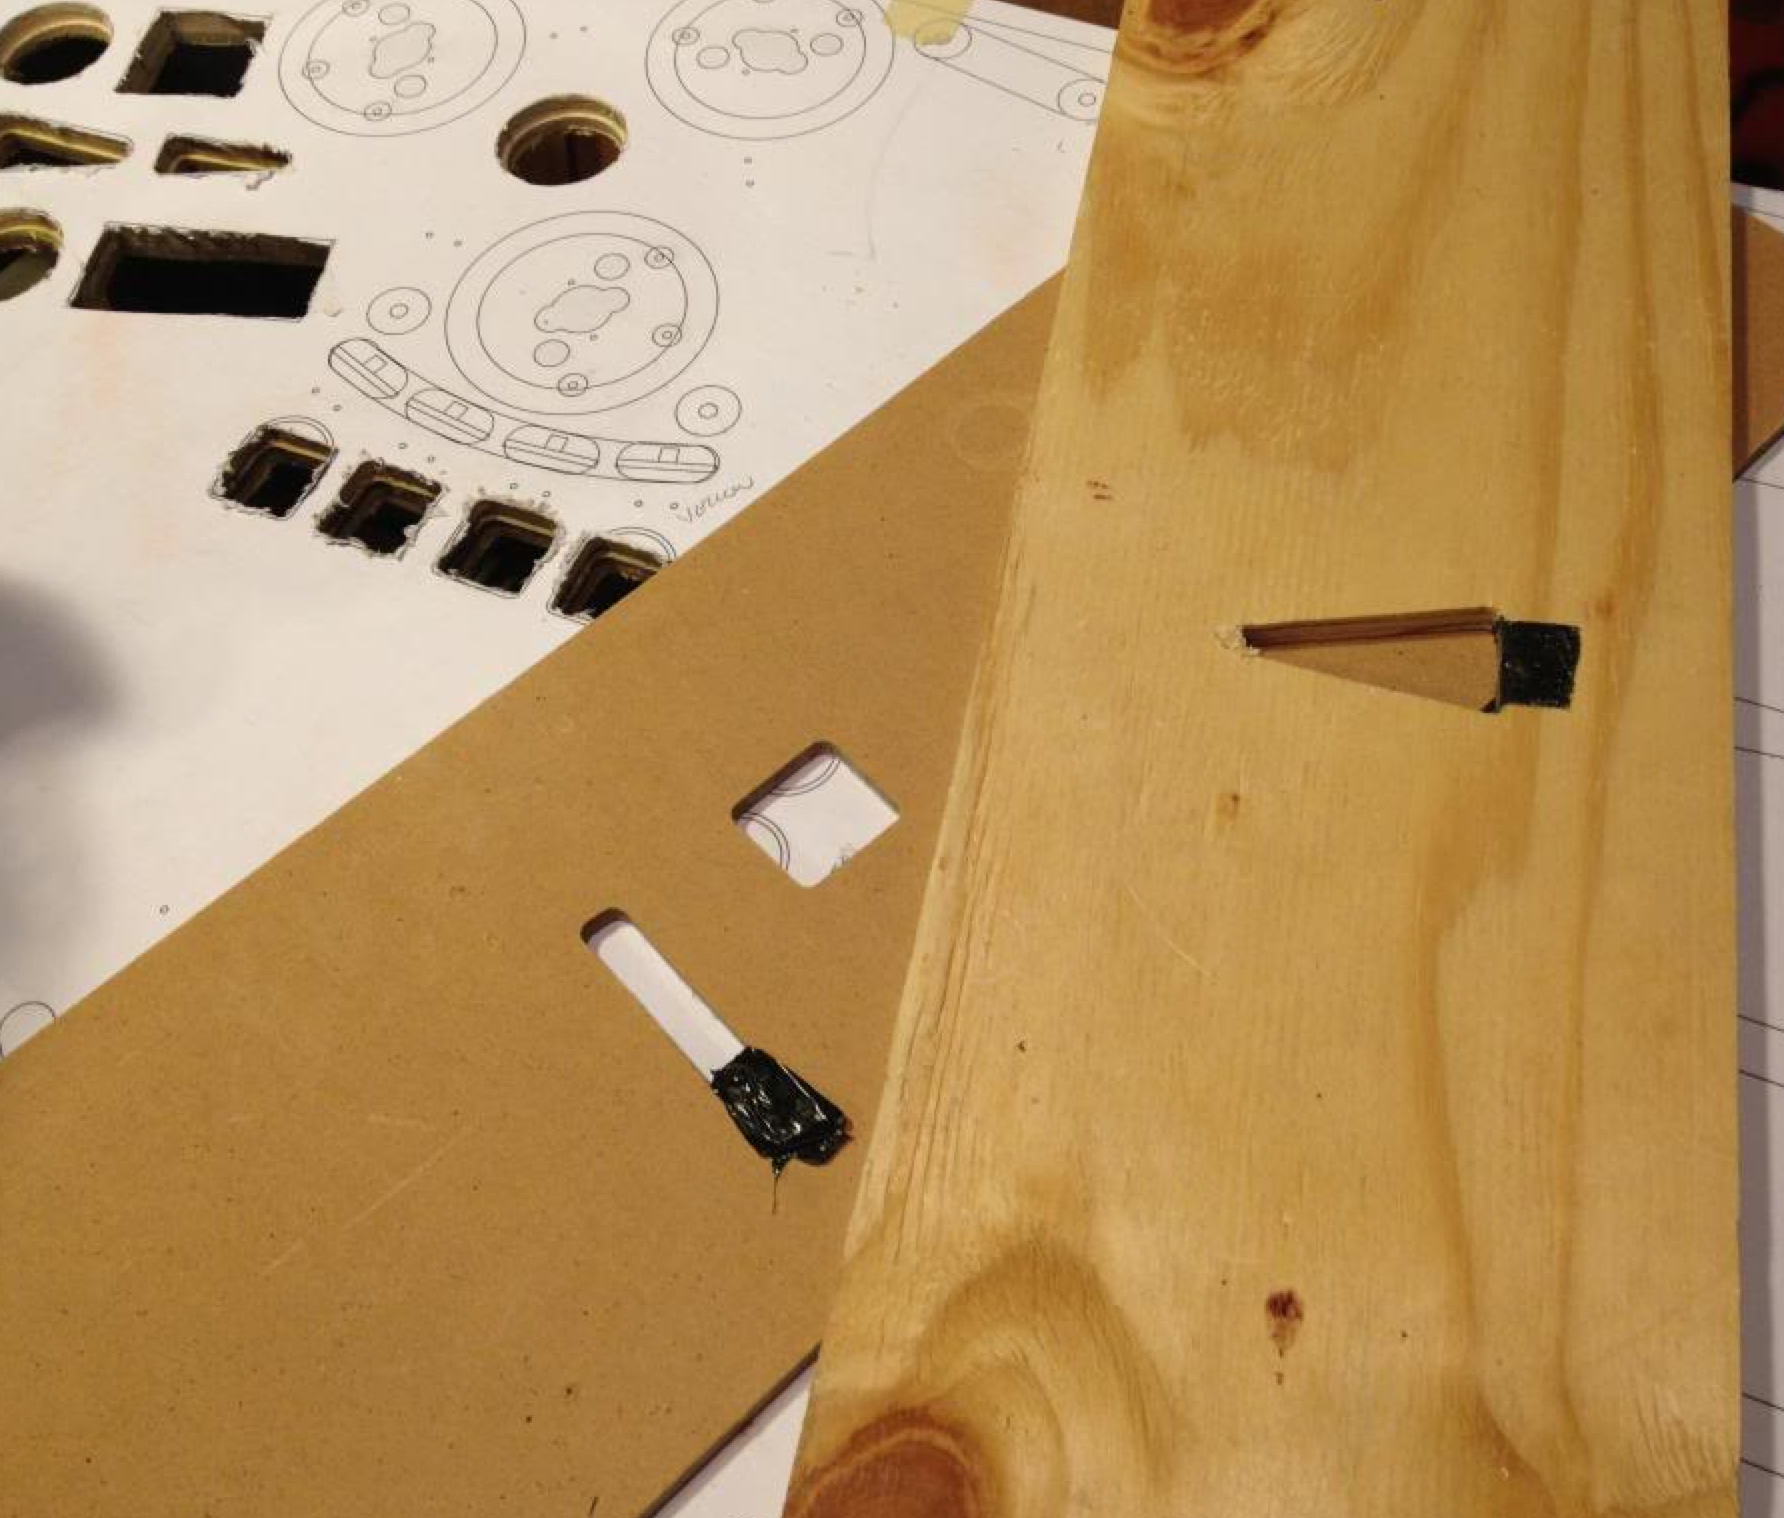
For creating a non-circular insert, use a router with a template and Bushing guide - a router bit with a small roller bearing on it runs along your guide, while the cutting head runs in the playfield to cut the hole to the size of the template. Creating the template is the hard part, but once you have that, it is relatively easy to route multiple holes for the inserts. This is a three step process similar to the circular inserts.
As with the circular inserts, first create the wider opening. This is done by clamping the template to the playfield and then routing the wider opening using the bearing bit.
Drill a couple of holes in the center of the insert so there is less to route. This is also helpful when doing the second step, of cutting out the inner opening, that is slightly smaller then the insert opening, since the router bit can start in one of the holes and not have to be plunged into the wood.
A 3/16" bit and a 5/16" bushing/guide offers the best results, which gives a lip of 1/16", a little bigger then for the circular inserts. This second routing can be done without a template, since the insert opening itself can act as the template.
Tools
Specialty Tools
These are tools that are specific to pinball.
- Pinbits has a Pop Bumper Drilling Template to use when drilling the playfield for pops. Instructions for use here.
Metalworking Tools
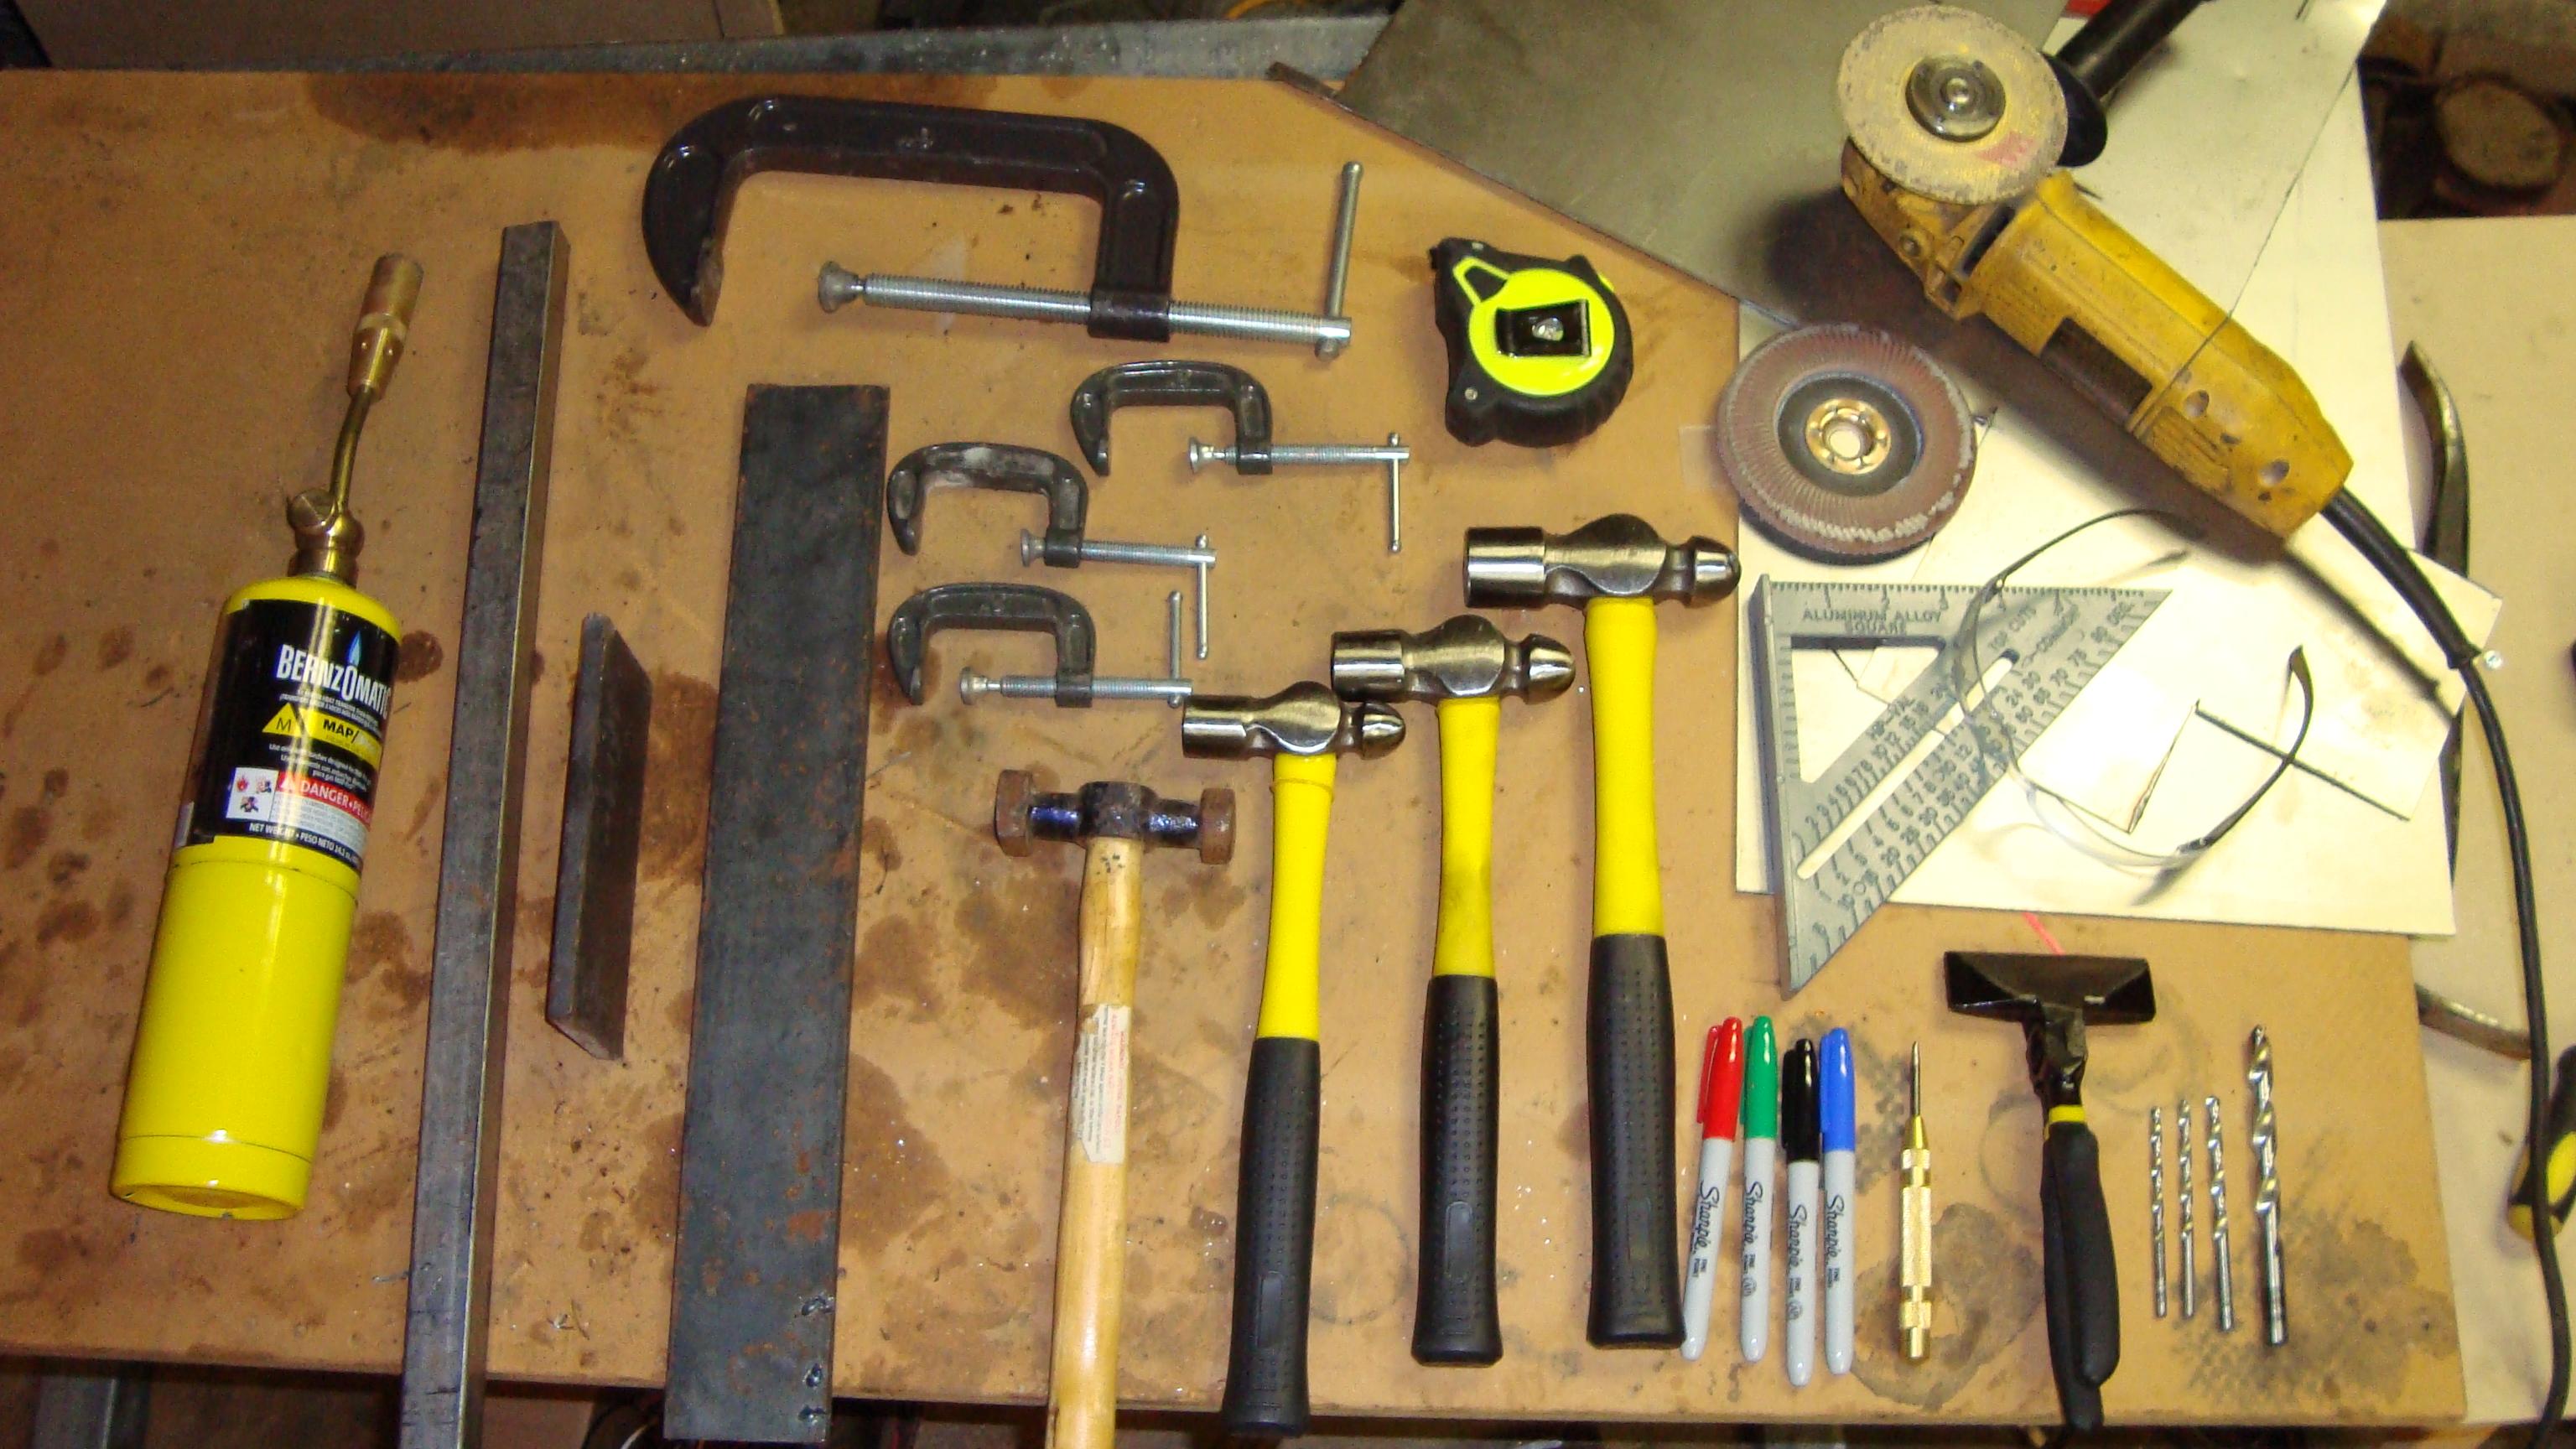
- A few different colored sharpies for marking cuts and bends
- 4 1/2" angle grinder for cutting and grinding
- Flap disc grinding pads of multiple grits
- Metal cutting blades for a grinder
- Safety glasses and gloves
- A bunch of different size C-clamps - at least one large and two big enough to clamp large items
- A Square
- Measuring tape
- Different sized ballpein hammers
- Drill bits for steel
- Center punch
- Blow Torch - MAP Gas works best, Propane as a second choice
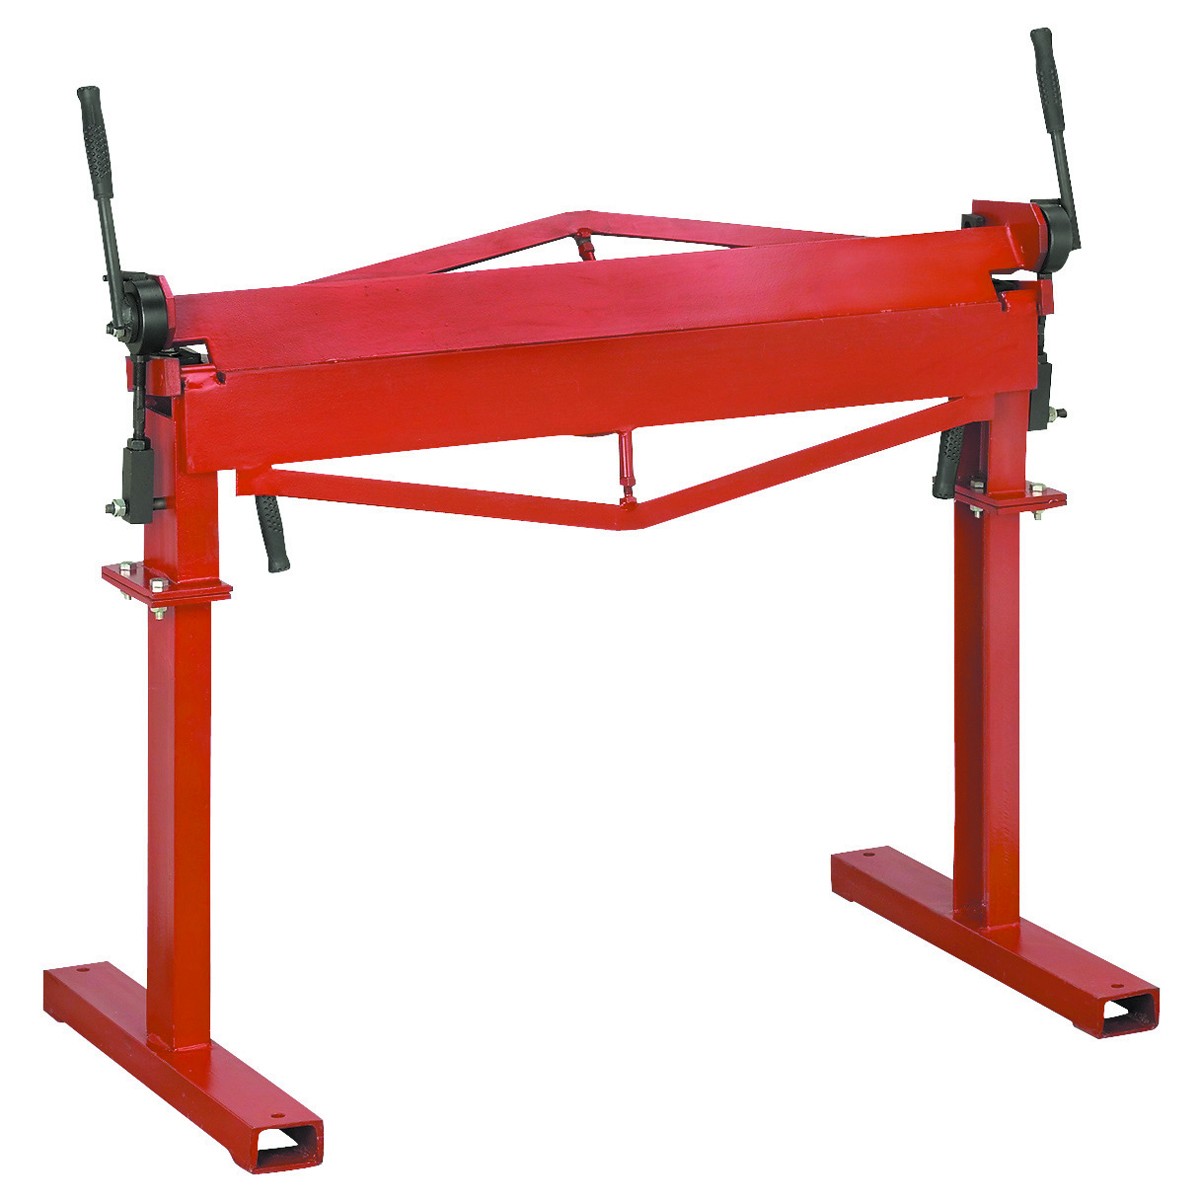
A Metal Brake is useful for bending sheet steel to make brackets.
The above example is available from Harbor Freight.
If space is at a premium, there are smaller tabletop versions as well.
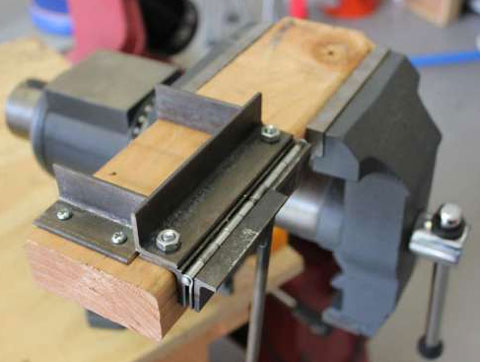
If cost is an issue, you can make your own from common hardware store parts.
Woodworking Tools
Beyond the standard hand tools needed to create a machine from scratch, here are some additional tools:
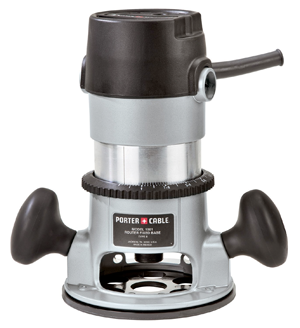
A Hand Router for creating insert and device holes in the playfield.
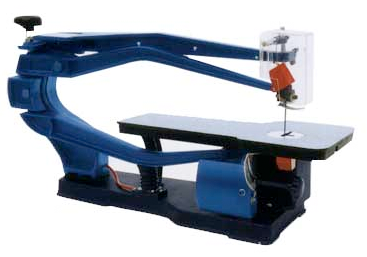
A Table Jigsaw for cutting playfield plastics, or plexi for your initial whitewood inserts.
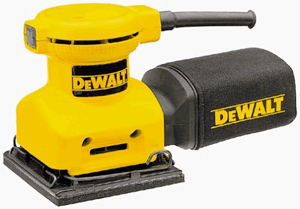
A Hand Sander to level the playfield. You should also have sand paper in various grits ranging from 180 up to 320, plus finer grits for final polishing.
Forstner bits for drilling clean holes. Easier than using the router.
Cabinet Tools
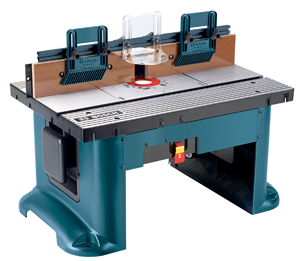
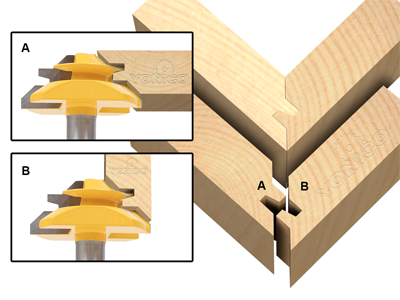
For cabinet building, a table router with Locking Mitre bits.
It is a bit that creates a locking edge between cabinet corners.
Advanced Tools
Although not strictly needed for hobbyists, the following are nice-to-have if you have some deep pockets, and they make whitewood production much faster and far more consistent. Rather than purchasing these, the best option is to find a local Maker Space that has the equipment available for rent or through a monthly membership.
CNC
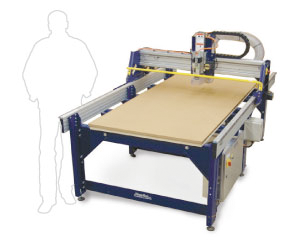
A large-format CNC machine can take drawings from AutoCAD or Inkscape to cut a playfield exactly to the design, which will be much more accurate than one done by hand with a router.
Some reasonably-priced options include:
For simpler tasks there are cheaper alternatives:
- Shapeoko uses a Dremel as the cutting tool.
Laser Cutters
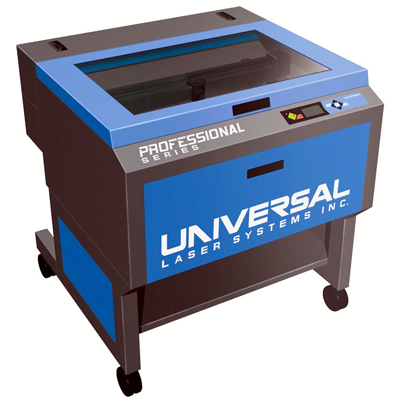
Using a laser cutter on plastics means fast prototyping of playfield plastics, and most cutters will also do engraving for interesting effects. Really high powered units will cut wood as well.
Some examples include Epilog and Universal.
A lower cost option is the Full Spectrum Laser.
Materials
A rundown of the various materials needed to produce a whitewood.
Plywood
Commercial pinball machines use a specially sourced type of plywood that is not available from big box stores and generally not even specialty wood suppliers.
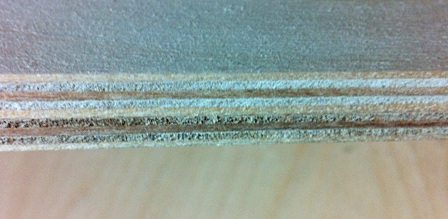
The thickness of a raw playfield is 17/32", which is then sanded on top with inserts installed to a finished size of 1/2". Each side is a full face of hard Maple with five plys in-between, not a thin veneer to allow for this sanding. The following photo illustrates the full seven plys:
The type of plywood available at a big box store will have a thin ply on both sides, generally of softer Baltic Birch, and will not have the surface area to allow a full 1/32" sanding to level the surface and inserts together.
For hobbyists, the best option is Cabinet Grade plywood, preferably from a lumber yard, with a minimum of seven plys but a preference for nine - the more plys, the more stable and flat. This type of plywood will have a thicker top and bottom ply suitable for sanding. It will generally be the softer birch but for one-off games, it should prove acceptable.
Another affordable option for whitewoods is Medium Density Fibreboard. Typically sold as MDF, it is also available in large quantities. The drawback for MDF is that it has poor flexibility and does not allow for easy removal and re-installation of screwed in parts.
Sheetmetal
For ramps, ball guides and various other uses.
Sheet Steel at McMaster-Carr.
Sheet Steel including stainless at Grainger.
Inserts
For a whitewood, the easiest option is to use thin plexiglass for inserts as it is readily available and fairly easy to cut to size with a table jigsaw. This allows for skipping the final sanding stage if using 1/2" plywood instead of 17/32".
Real pinball inserts are available in various sizes and colors from a number of suppliers including Pinball Resource and Marco Specialities.
Some examples of the inserts available:
5/8″ round White opaque #PI-58RW
1-1/2″ triangle Green #PI-112TGT
Rollover star button housing red 3A-7537 #C-901
Standard depth of inserts are 1/4" and they are designed to be sanded flat after installation - there will be a number cast into the top of the part and the top edge will be slightly raised around the radius by approximately 1/32". Thus, when creating insert holes, you must drill slightly less than 1/4" deep to allow for the sanding.
Playfield Parts
The best source of parts like switch targets, pop bumpers, posts and other miscellaneous bits is from parts machines - picking up a used machine with a worn playfield and just cleaning up those parts will be ten times cheaper than buying all new parts.
However, given the increasing value of even older solid-state machines, finding games to part out is becoming increasingly difficult, so the only option may be purchasing new.
Electronics
Once the physical playfield is constructed, wiring it all together and adding a way to control the devices will be required. There are three basic options - use existing pinball boards, build custom control boards or purchase off-the-shelf units.
Existing Boards
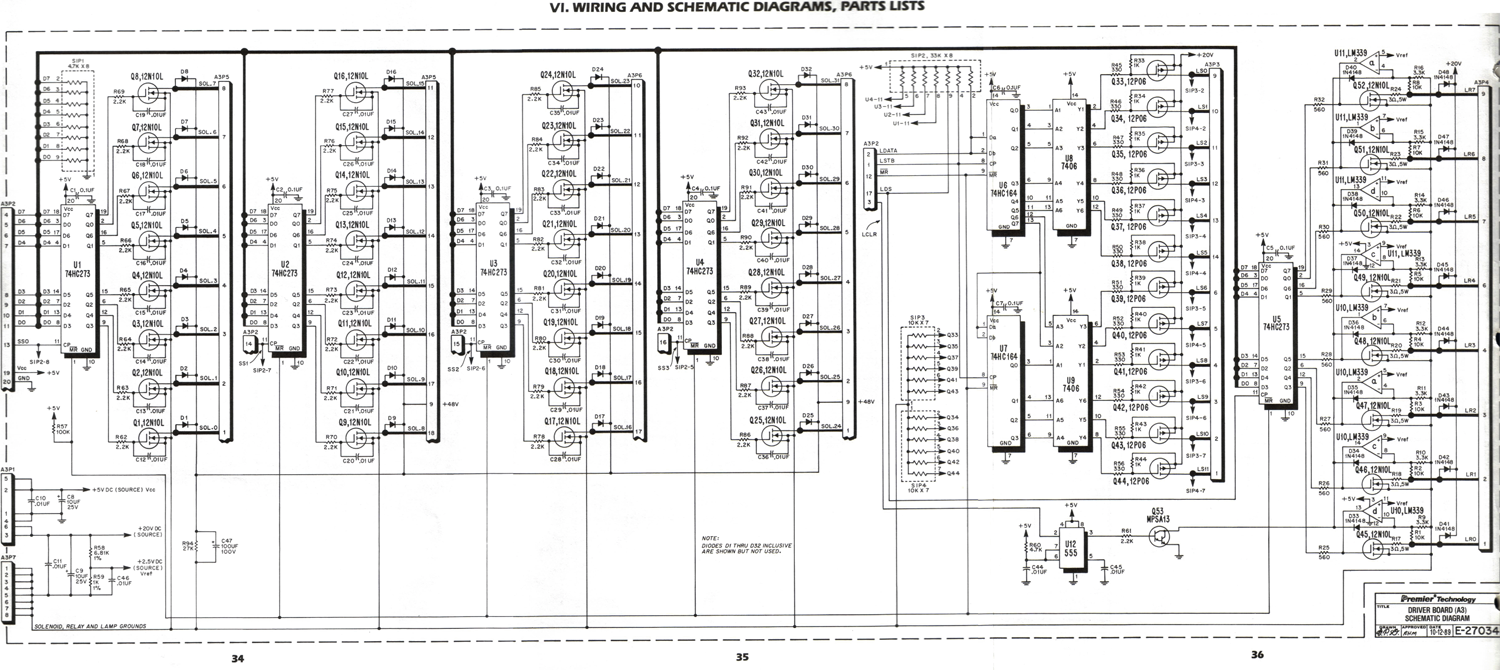
A popular option is using boards from existing machines and replacing the main controller. For example, the Gottlieb System 3 driver board uses modern MOSFET drivers, supports 32 coils and a 8x10 lamp matrix, and is available for $100 from Pinball Resource.
Another well documented system is the original Bally system.
Custom Boards
TBD
Off-the-Shelf Boards
P-ROC (Pinball - Remote Operations Controller) is a well-supported generic platform that is in use by many custom games. It has a dedicated forum.
FAST Pinball is the new kid on the block that will be bringing out a controller in 2015.
Both of those systems require an external PC with USB to provide the signals to control the solenoids and lamps. Currently these small ARM-based boards are the best candidates as they are more powerful than the Raspberry Pi or Arduino boards:
O-DROID : Quad-core CPU, dual-core GPU, 1GB DDR3 RAM, Gigabit Ethernet , 4x USB2.0 ports.
Beaglebone Black: AM335x 1GHz ARM® Cortex-A8, 512MB DDR3 RAM, 4GB 8-bit eMMC on-board flash storage
Power Supplies
There are a couple of options when it comes to power.
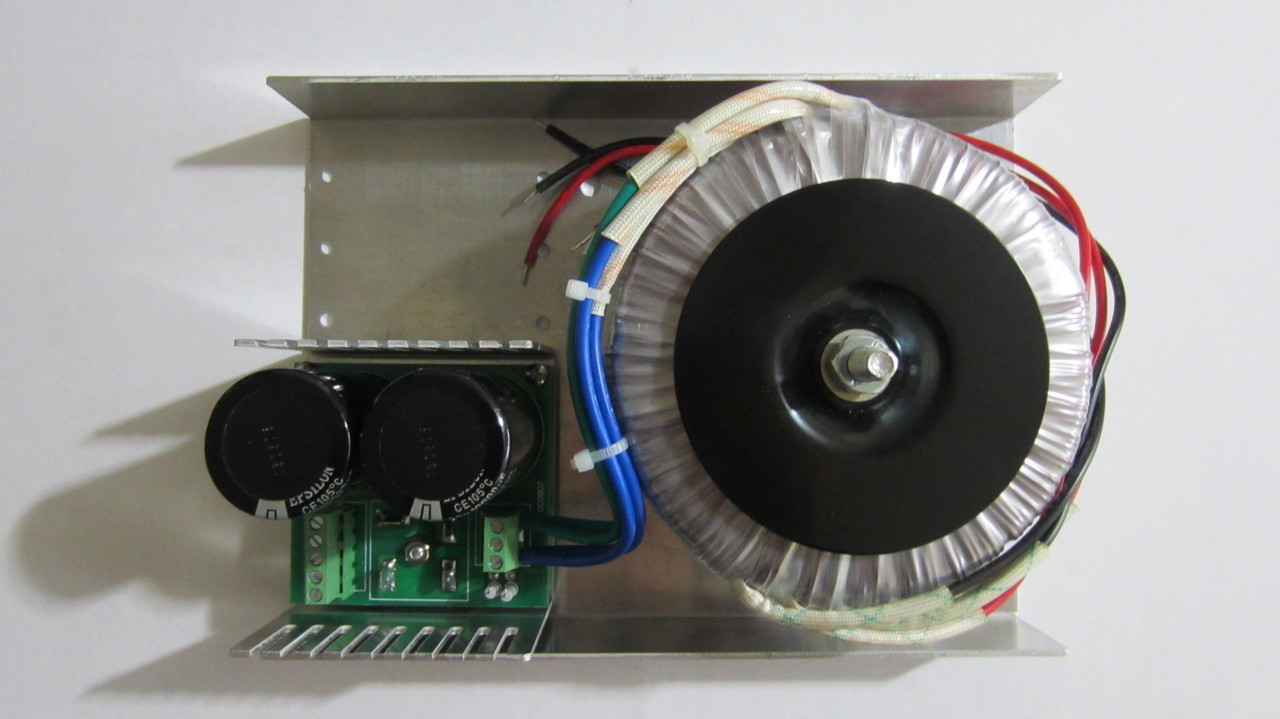
- Use an existing pinball transformer / power supply board. Most pinball transformers will provide various power level taps like 6.3V for the GI and CPU, 24V for basic coils and 50V for flippers. You'll need the comparable power supply to convert the AC voltages to DC.
- Use a custom supply. AnTek makes the PS-4N70R5R12 which provides high current 70V as well as 1A 5V/12V feeds to run the CPU and lights.
Switching power supplies are fine for CPU and some lighting, but computer models won't provide enough current for solenoids.
Wiring
Solenoids typically need a minimum of 18AWG wire. Lighting can be much thinner since it's pulling less current, particularly if you intend to use LED's.
Custom Parts
Many hobbyists plan on producing games with game-specific features that aren't included in other machines, such as ramps or ball control devices, and thus will have to design and construct mechanisms from scratch. This generally involves metalworking, welding and other more advanced skills, but are not beyond the garage hobbyist.
Welding Types
If you plan on making metal ramps or wireforms, welding will be required.
In order of quality, here are your welding options:
- TIG: Tungsten Inert Gas arc welding is often employed to make welds on nickel alloys (like stainless steel), magnesium, aluminum, titanium and copper alloys. TIG welds can be made with or without metal fillers, unlike MIG welding, which exclusively employs filler metals to create welds.
- Pros: Pinpoints heat better than MIG welding, allowing for smaller, more precise welding, is a very clean process, creating no spatter whatsoever while a weld is being made.
- Cons: TIG welders are more expensive than MIG welders, and it is a more difficult process to master.
- MIG: Metal Inert Gas arc welding is most often used with steel. MIG welders do not have to start and stop too often while welding, which allows for long, uninterrupted welds. Gas shields the weld, helping to prevent oxidation and spatter.
- Pros: Relatively clean, creating only a little spatter while welds are made, easier for beginners.
- Cons: Possibility of excessive melt-through and incomplete joint penetration or fusion, can be difficult to create a starting arc, welds are known to leave deposits that are heavily oxidized.
- Flux Core Wire Feed: Arc welding without the shielding gas. Uses flux, similar to soldering, to flow metal.
- Pros: Cheapest form of MIG welding as it doesn't require compressed gas.
- Cons: More likely to produce dirty welds due to lack of shielding.
- Brazing: Can be done with hand tools, but it requires a lot of heat for a long period of time in one spot, which weakens the surrounding steel. This makes it more susceptible to warping and bending due to stress. It can work, but it is not nearly as strong as MIG.
Ramps and Multi-Levels
Sometimes a 2nd-tier playfield set apart from the main playfield is added in the back. A lower playfield is usually mounted underneath the playfield in the central area.
Vacuum-Forming
(Sourced from a tutorial by Josh Kugler) [2]
Doing simple vacuum-forming in your garage is straight-forward. The basic idea is to use a standard oven to heat up a sheet of plastic until it softens, then place it over a pre-made form, using a vacuum to pull the plastic down around the form.
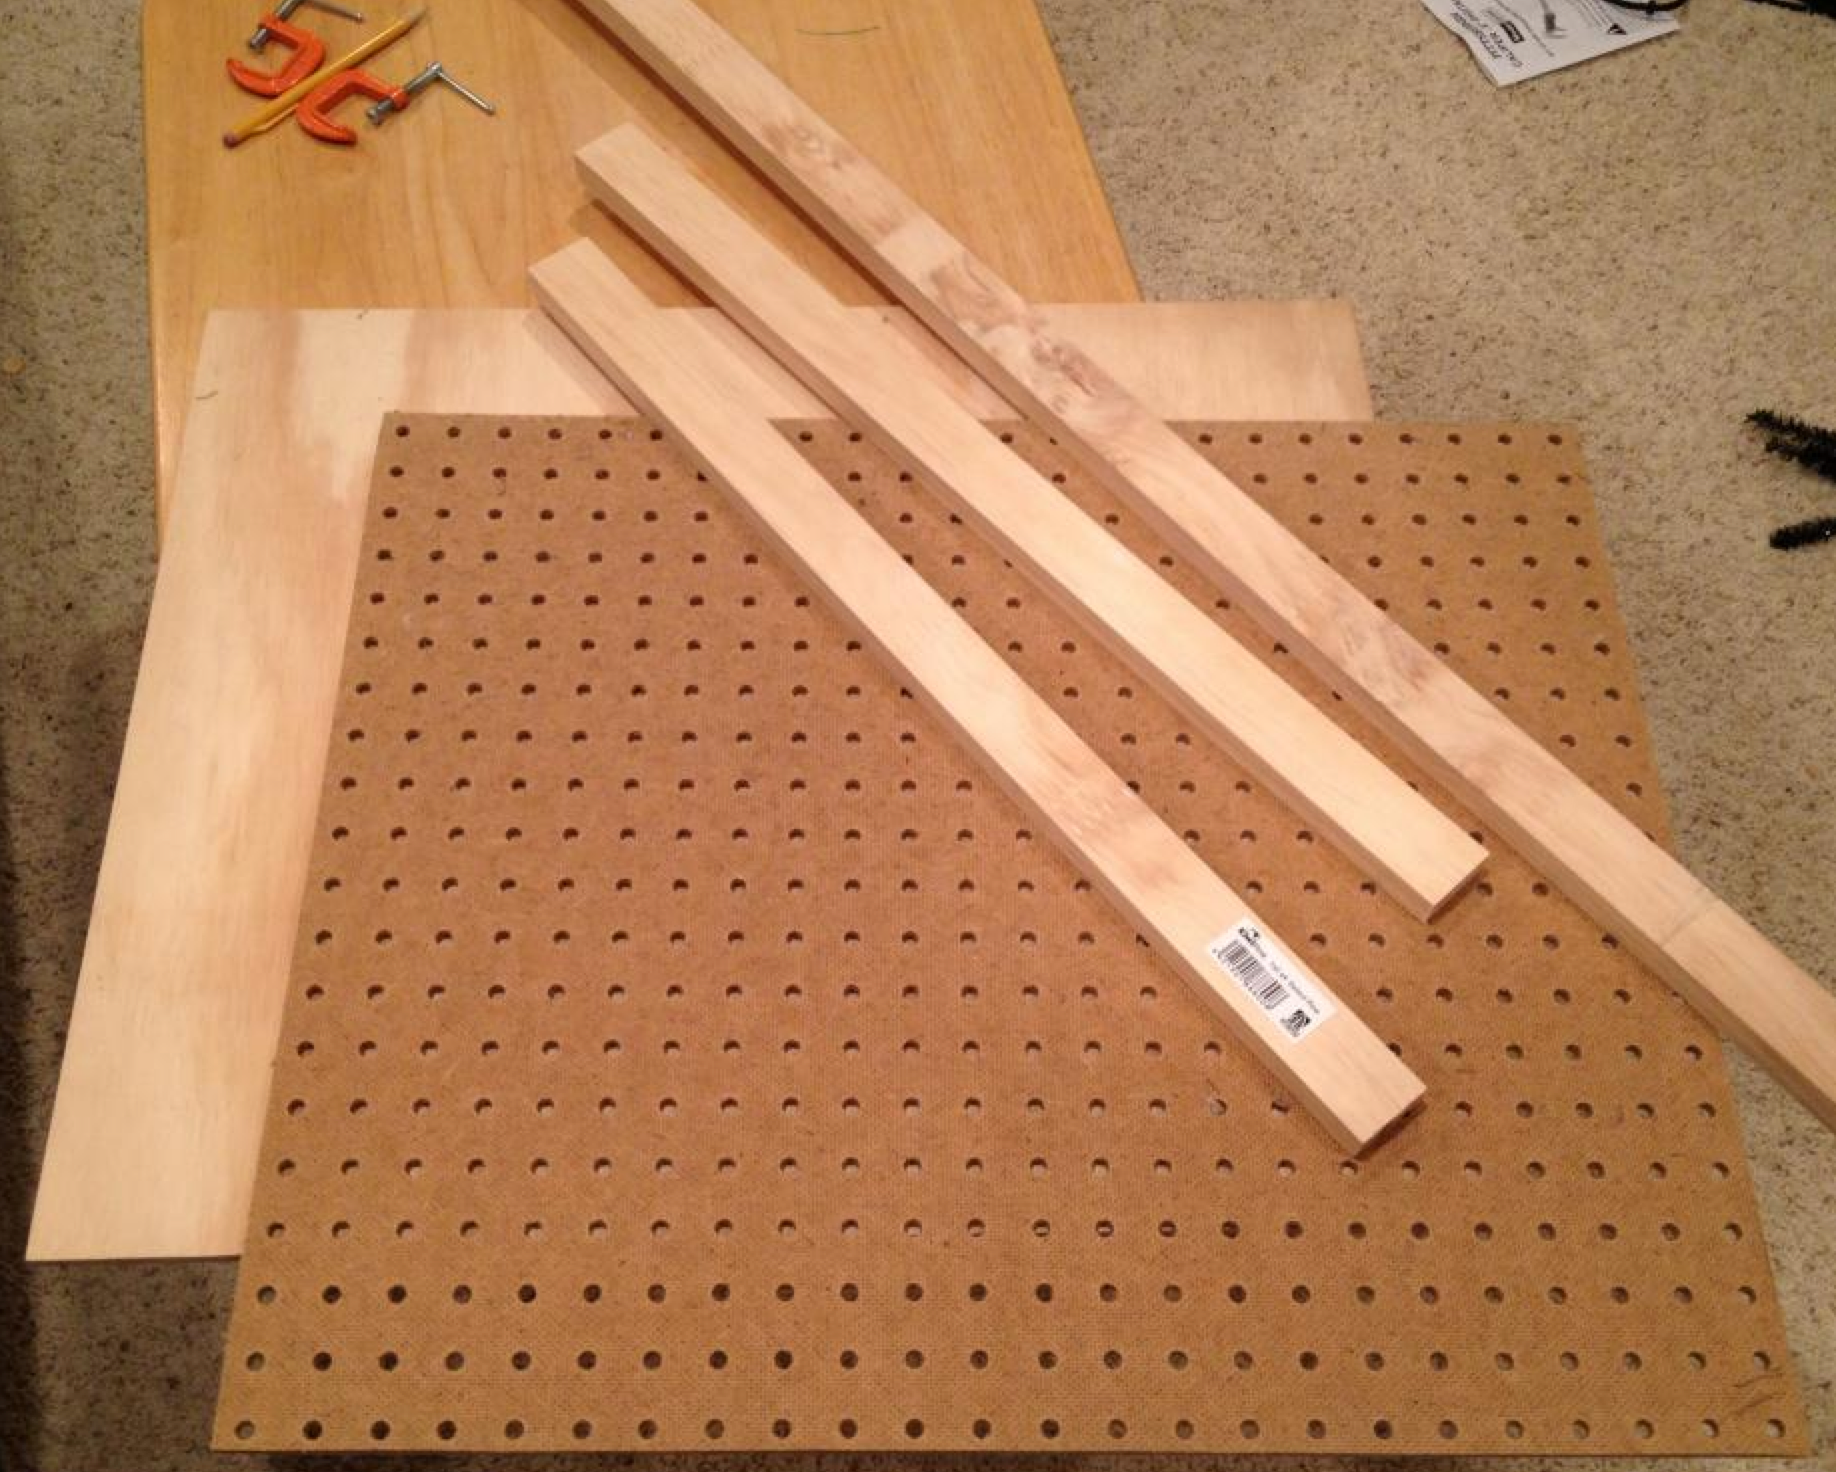
Materials needed to create the vacuum-former include:
- Wood Strips
- Pegboard (2' x 4')
- Plywood
- Shop Vac or similar
Sizes are not critical - the available space in the oven will determine the maximum final size of any pieces formed - so the unit should be built slightly larger than that.
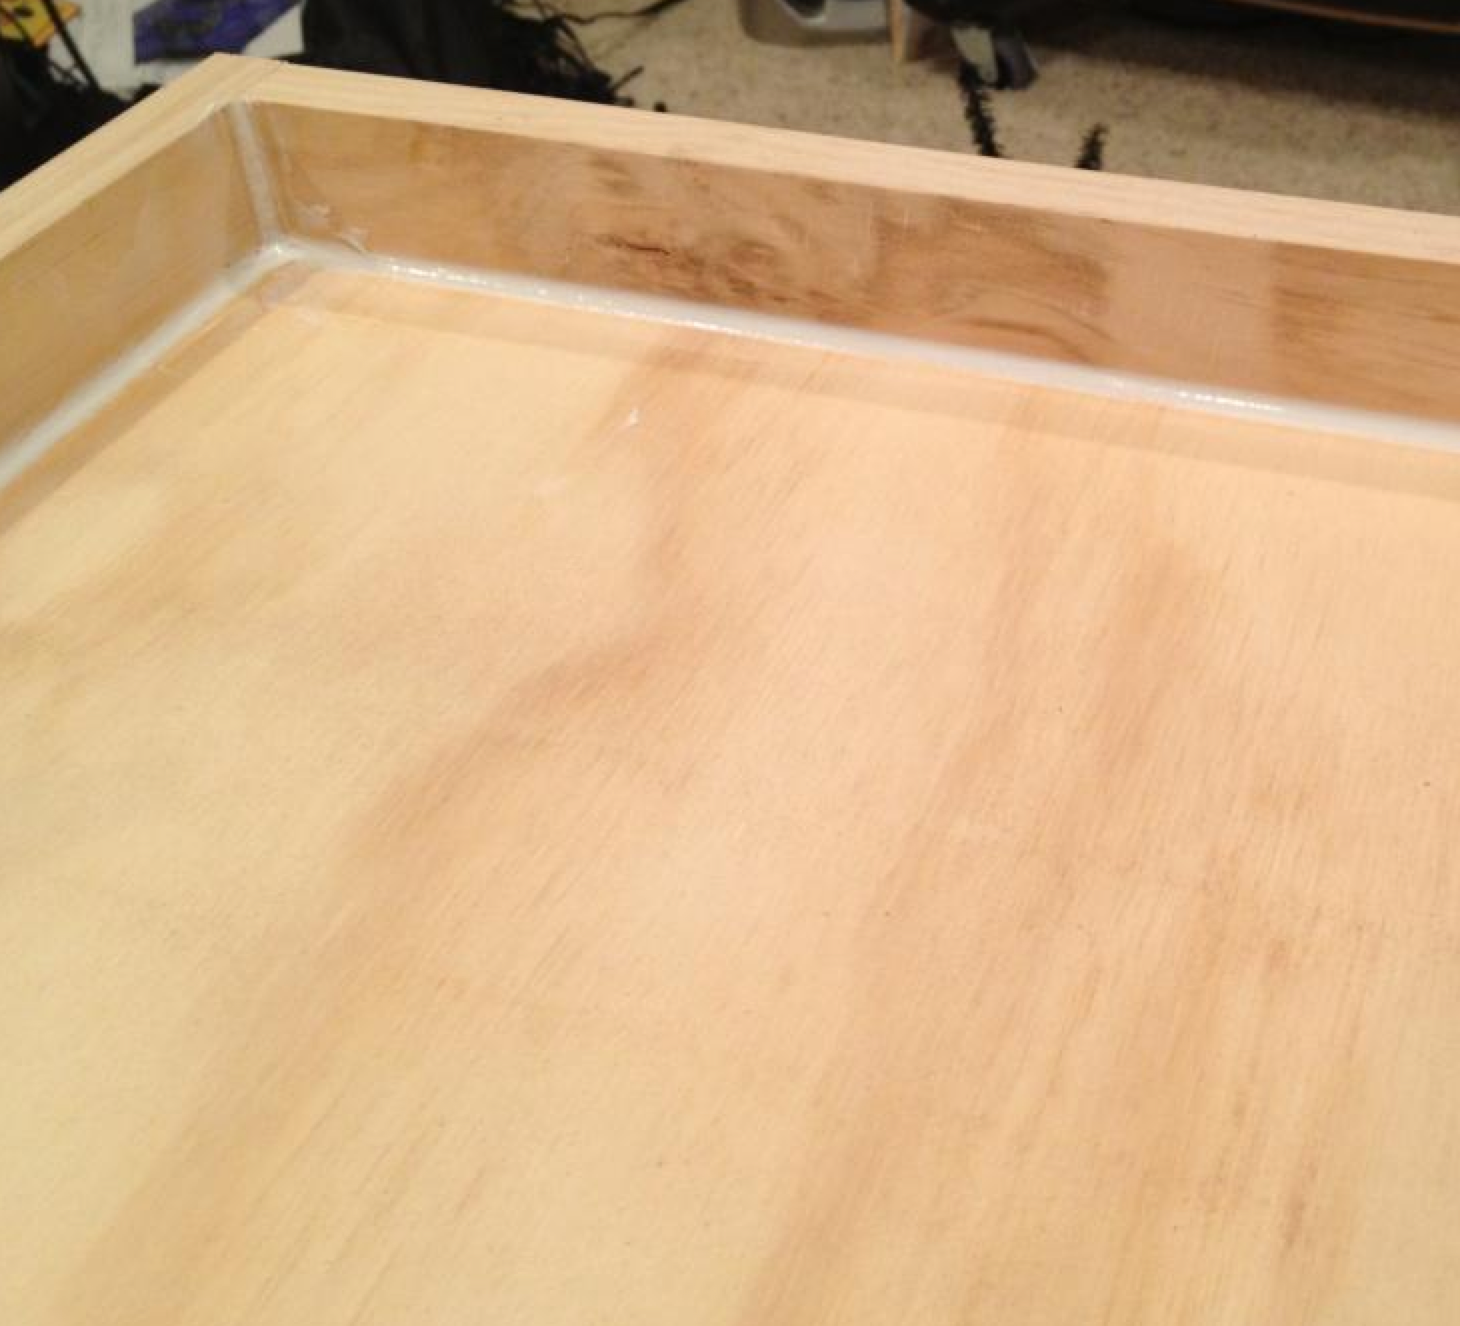
Create a box using the wood strips and plywood, and caulk it to make it airtight.
Drill a hole the same size as the intake hose on your vacuum in the side or bottom of the box, and attach the pegboard to the top of the box. When you place your form on top of the box, then the heated plastic, the vacuum will draw the heated plastic down.
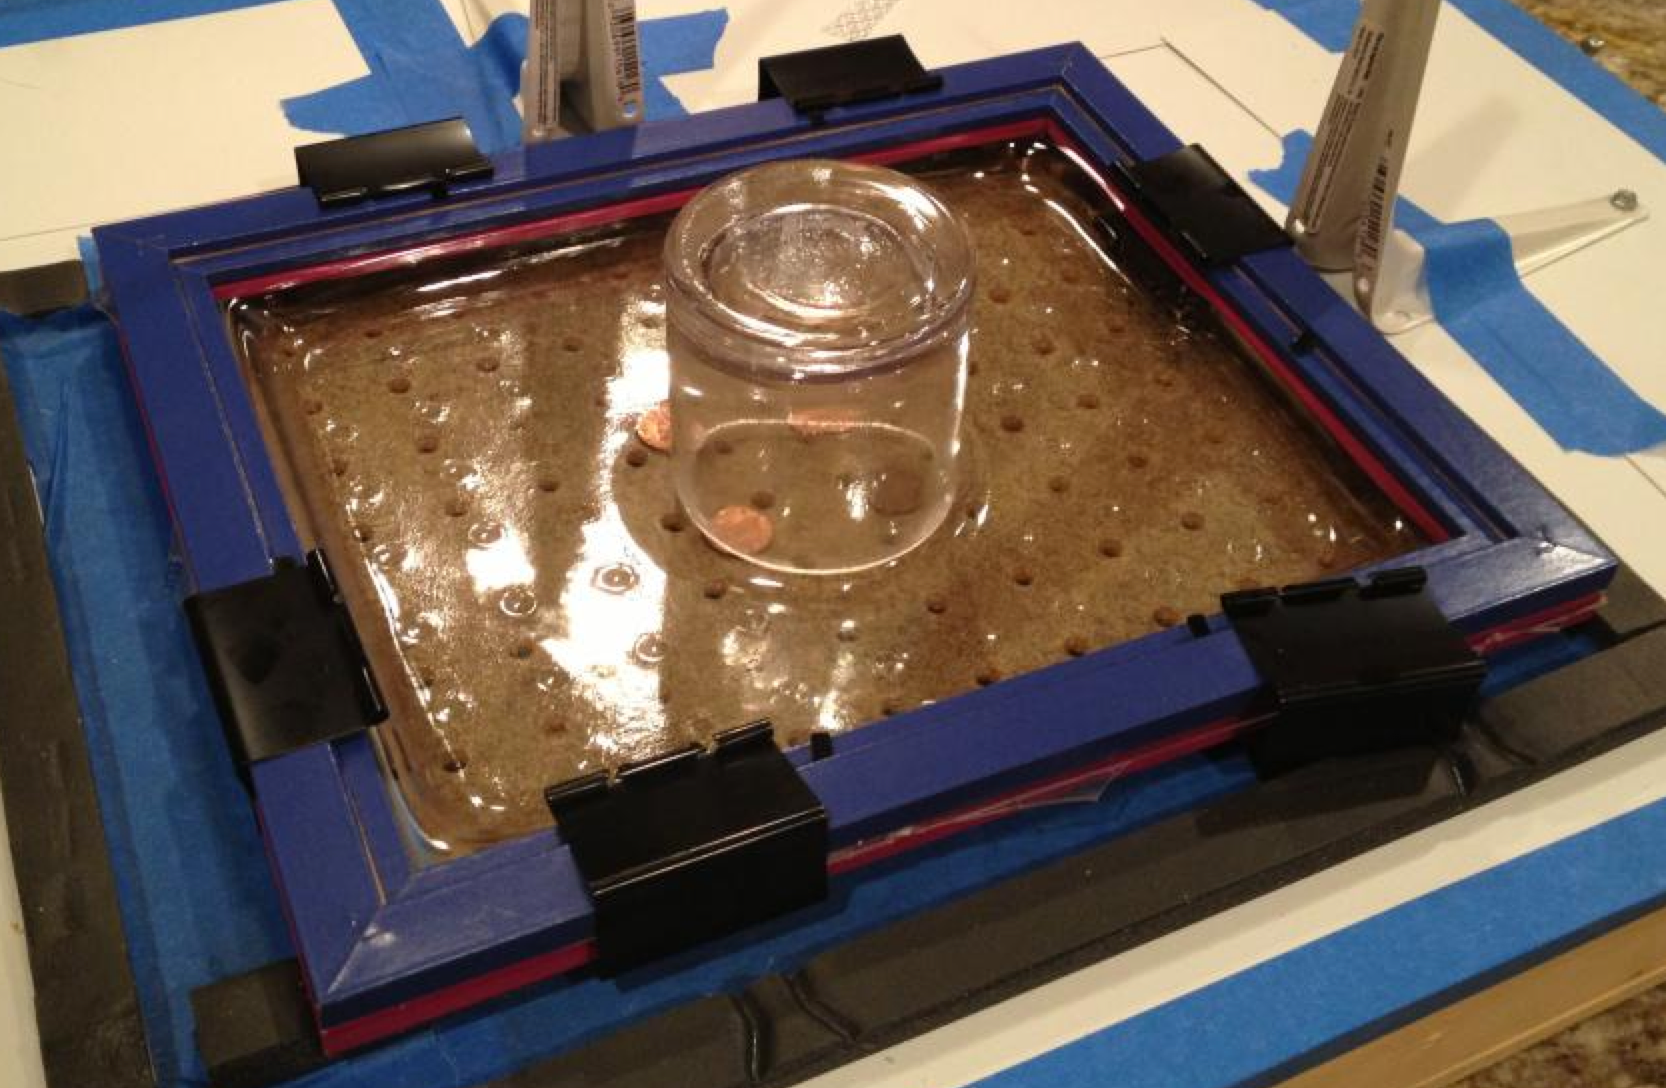
Using an old picture frame, or a cheap one from IKEA, trim your plastic sheet to the same size and heat the plastic in the frame in the oven at 375 degrees, until it just starts to droop. Placing the frame and plastic on oven-safe jars will prevent it from touching the racks or surface of the oven if it should droop too far.
In this photo, the extra airholes are blocked by poster board to maintain the airtight seal.
When creating forms, it is important to remember that it must be possible to cleanly remove the form once the process is complete, so things to avoid include:
- Large vertical surfaces
- Vertical holes
The best form is a pyramid shape, with the smallest details on top and increasing diameters to the base. Consider using a releasing agent to make removing the form easier - a non-stick spray or lubricant for example.
Creating the form itself can be done using foamcore, wood and bondo, aluminum or steel, depending on your available tools and ability. The smoother your initial form, the clearer your final pieces will be.
Wireforms
(This was taken from Matthew Bonnema's tutorial on wireform fabrication). [3]
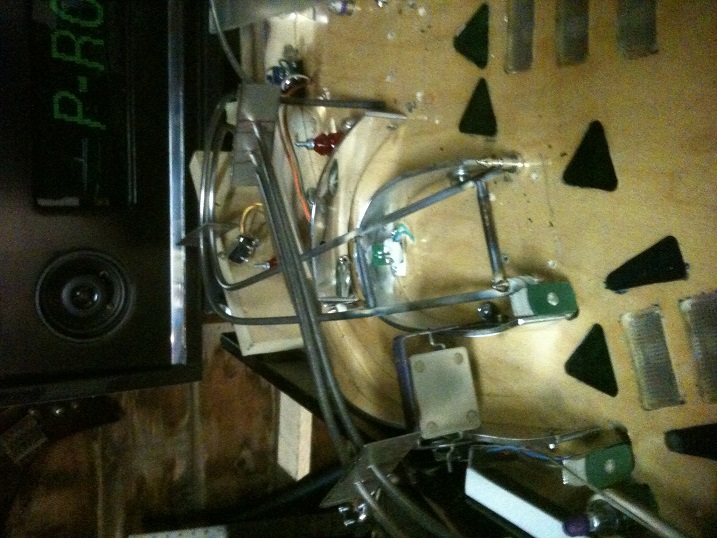
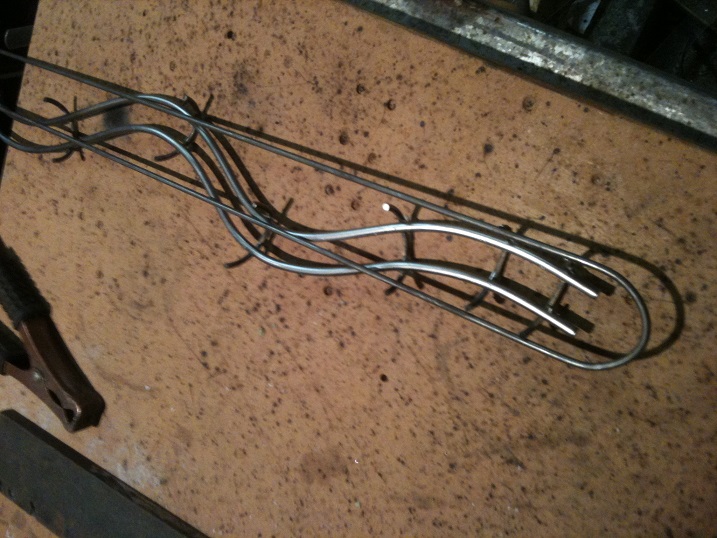
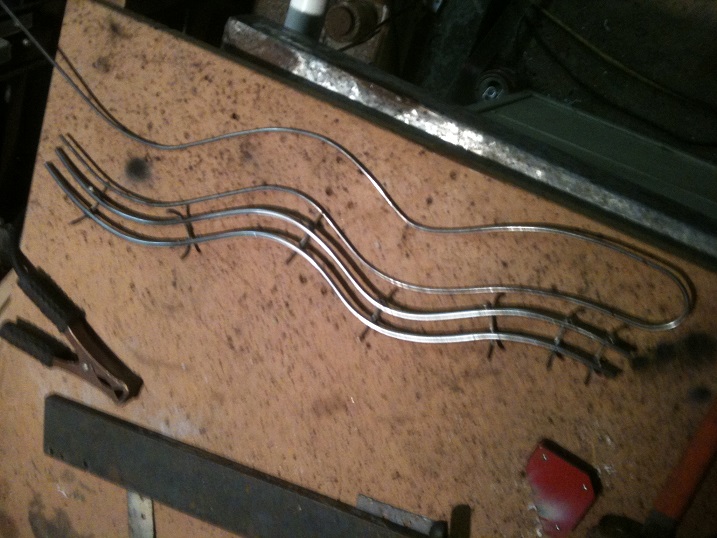
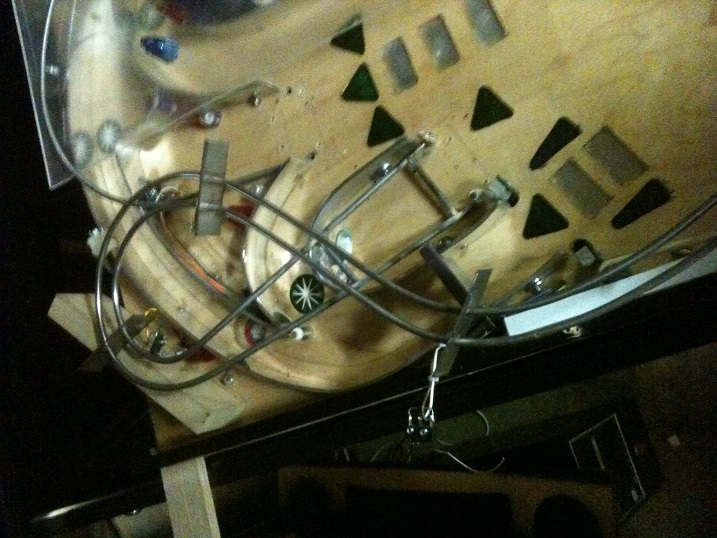
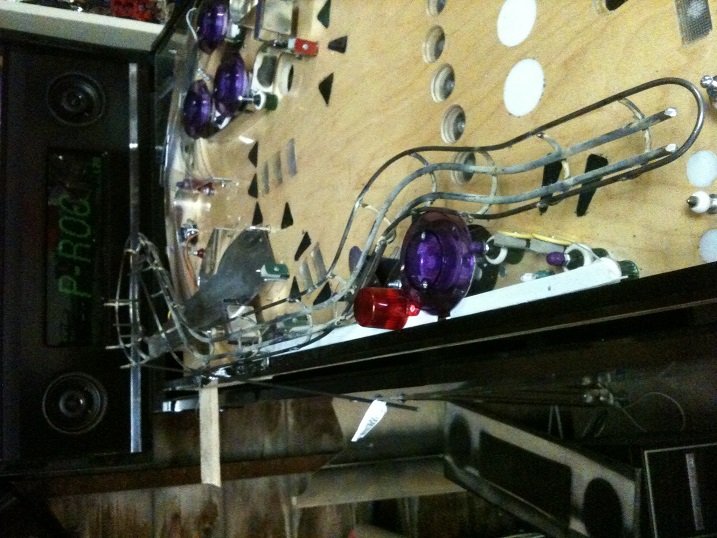
One standard convention on modern pinball machines are wireform ramps. They can be made out of 1/8" steel wire which can be purchased at most big box stores. If you don't have access or the skill to use welding equipment, wireform ramps can be fabricated from brass rods and soldered together using a small torch, flux, and solder. Spooky's America's Most Haunted was prototyped this way not only because Ben Heck was already used to soldering, but because brass is a little easier to form than low carbon steel.
Spacers
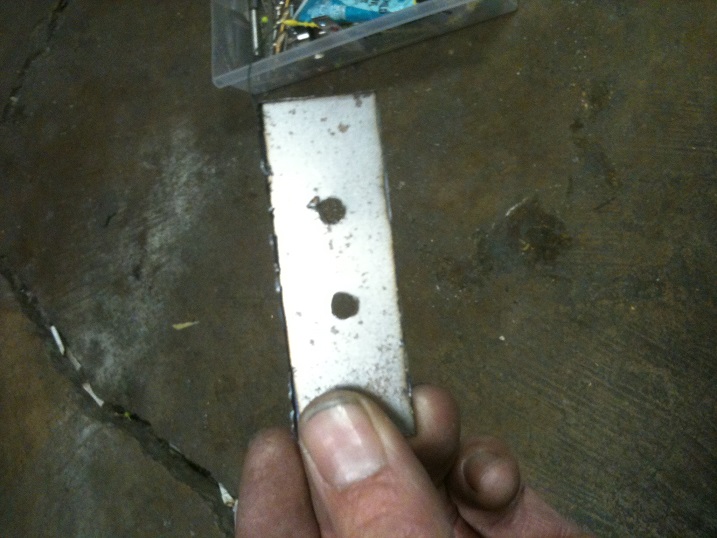
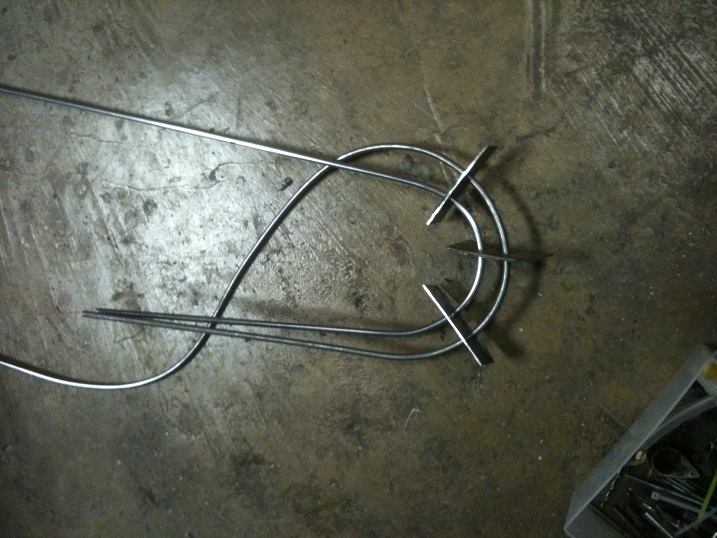
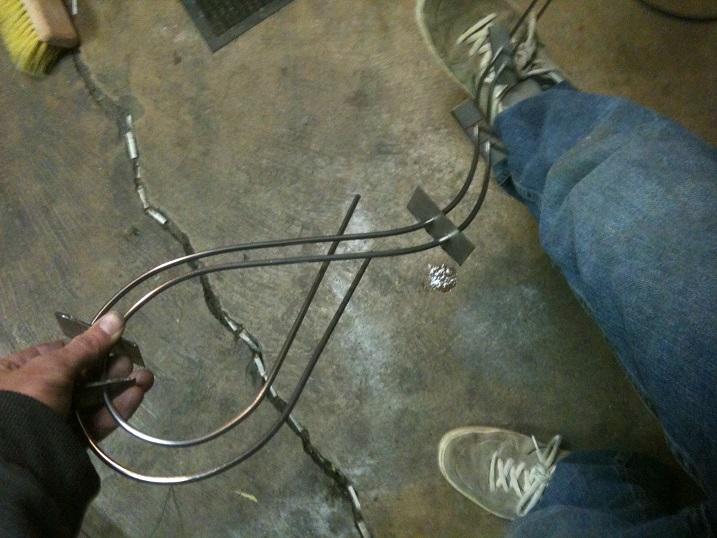
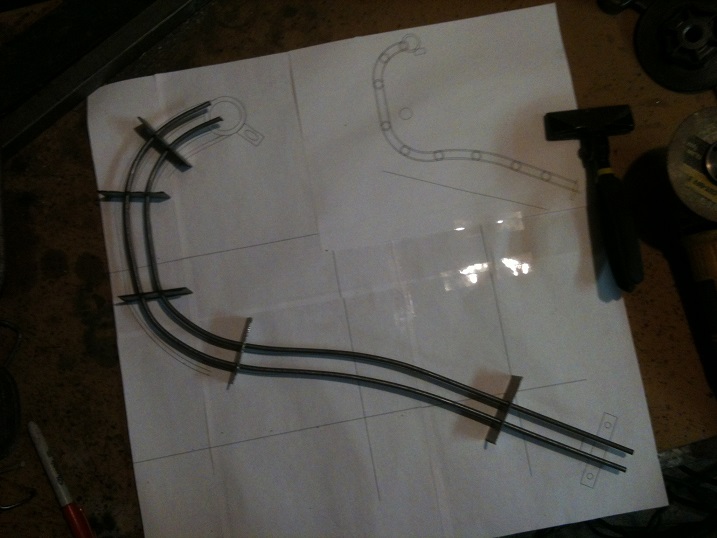
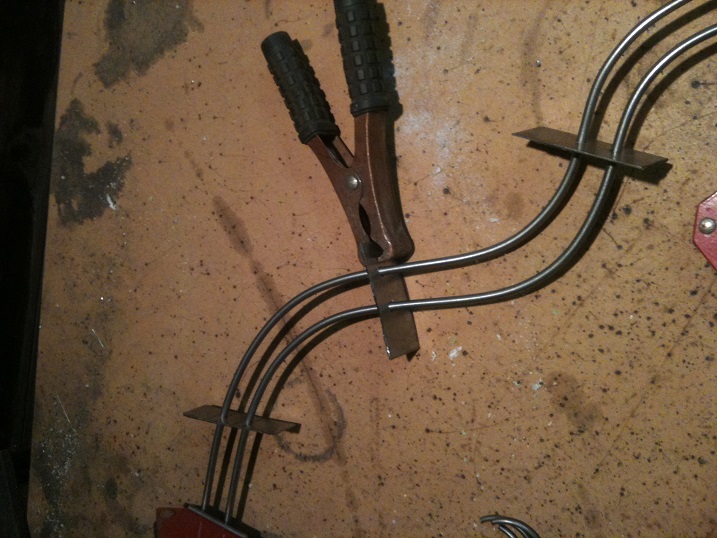
Spacers help to keep the proper distance between two rails in a wireform while it is being constructed. They can also be used for welding braces. A fair number of these will be needed - two or three per curve - plus a few oversized ones to allow for the grounding clamp from the welder if you're using one.
To make them, just measure the ball and figure out where you want the ball to ride in the rail, then drill two holes the same size as the stock you are planning on using.
Slide the spacers on and match the other wires bends carefully. Make sure to only bend the new wire and not the guide wire.
Use 16 and 20 gauge sheet metal for the spacers - 20 for tight bends and 16 for straightaways. It is easier to slide the 20 gauge down the curves.
If skinning wireforms, put supports on the under side to make them stronger. You can construct ramps by welding sheet metal over the tops of the rails at the ball entry points.
Loops
Loops are useful as entrance and exit points, and cut down can be used as bracing.
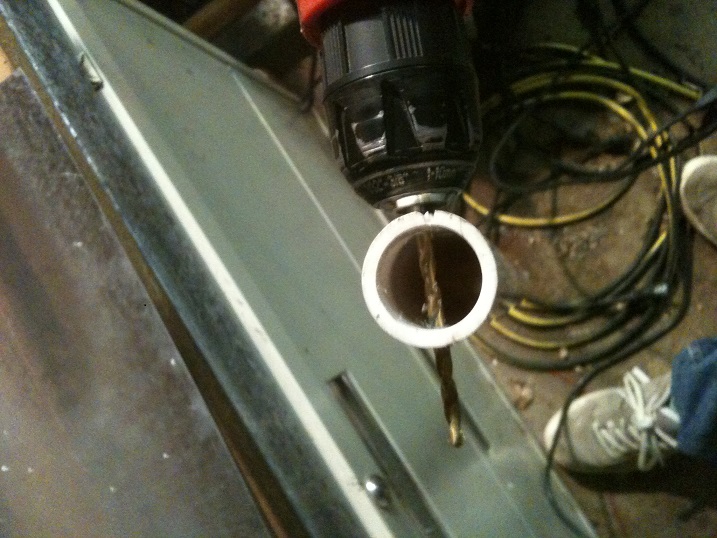
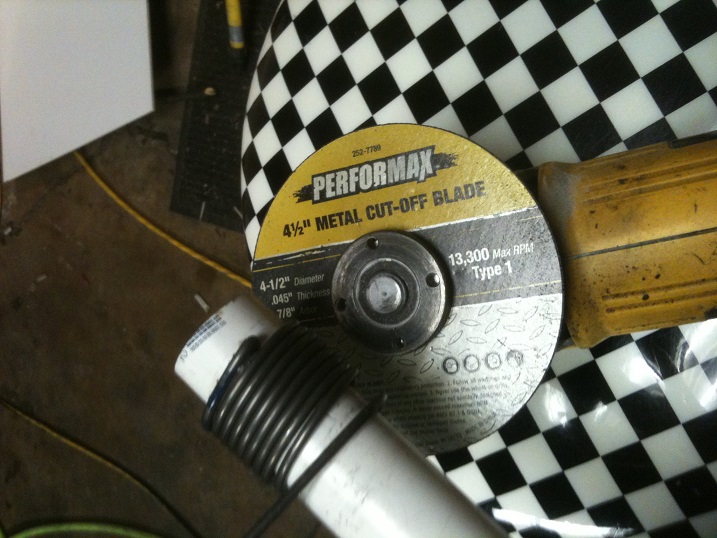
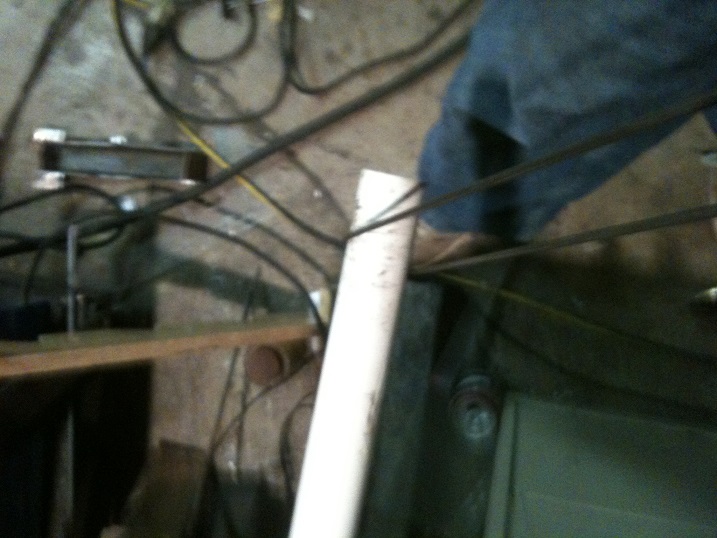
Take a piece of 1" PVC pipe and drill a hole centered on the pipe all the way through, roughly the same size of the stock that you intend to use.
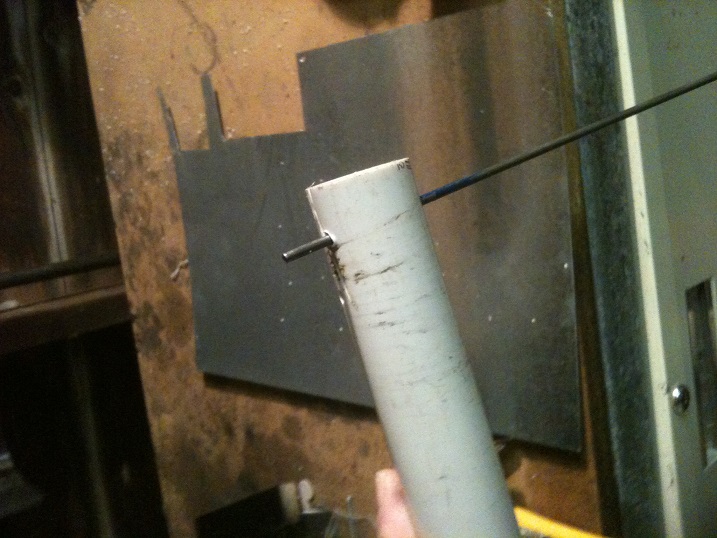
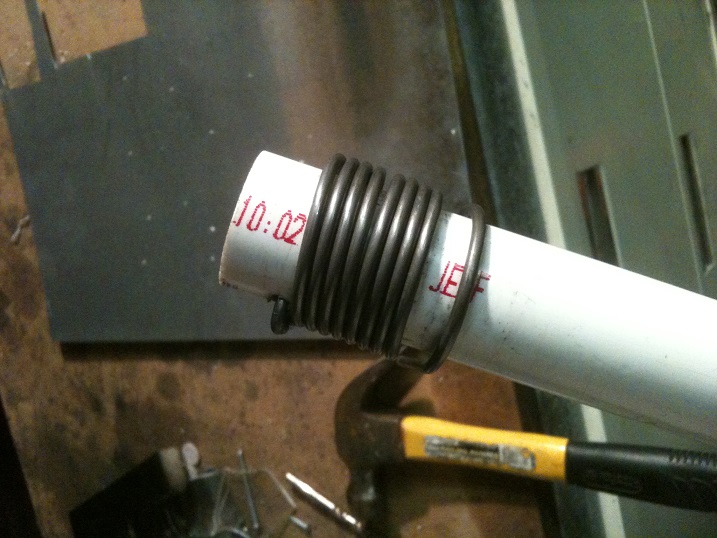
Insert the stock all the way through and wrap it around really tightly. It will spring back a little, but if you are using a standard size pinball, it shouldn't be a problem as long as you keep the tension consistent all the way through the wrap.
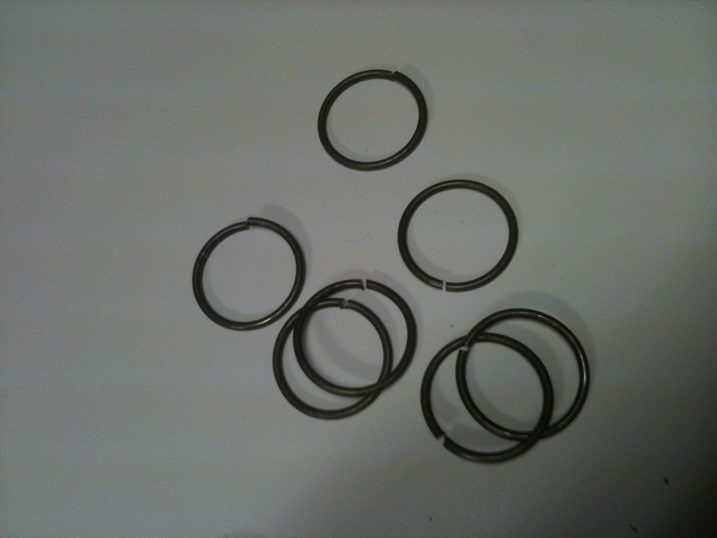
With an Angle Grinder with Metal Cutting disc, cut as close to the initial bend to get as many loops as you can with out getting any of the curve in the cut.
Take caution! This is a dangerous tool!
A simple way to get really nice and easy loops. Bolt cutters, shears, a hacksaw, or wire cutters capable of cutting the wire you are using can also be used as an alternative to the angle grinder, although the loop ends will not be as clean. Free the loop of wire by pulling down on it slightly and clipping off the bent leg that goes through the pipe. Clip or saw each ring off, using the edge of the last ring cut as a guide.
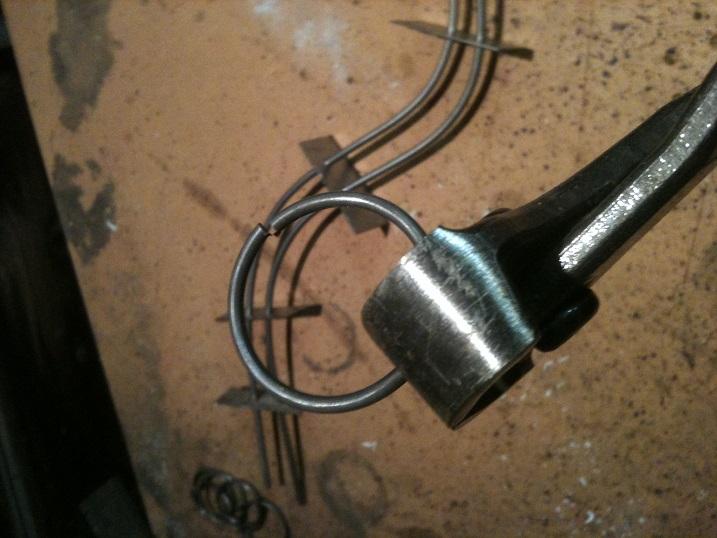
Create supports by cutting the rings in half to make the supports. A large Side Cutter makes cutting the 1/8" steel stock easy and fast - just make sure to hold on to both pieces because they can fly apart. Eyeball guessing for the center on the rings is fine, but for consistency, measure for center.
Drawings
After making spacers and loops, the best starting point is using drawings made in one of the drawing tools mentioned in the Design section. Match the form to the full-size 2D drawing during construction.
Welding
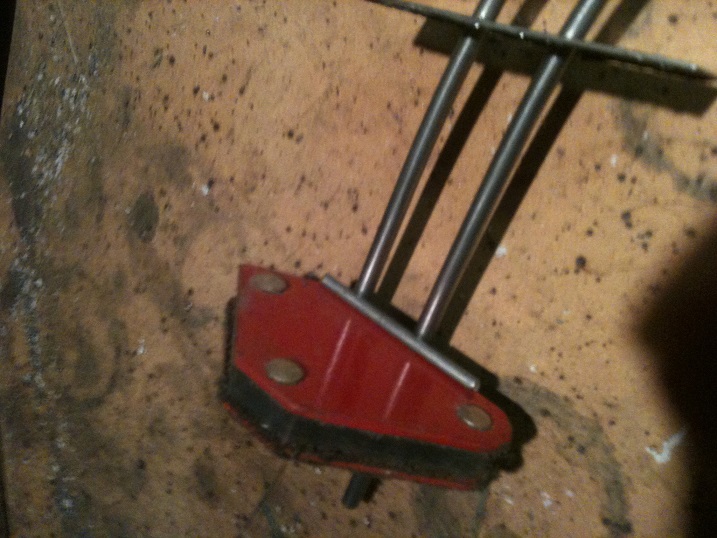
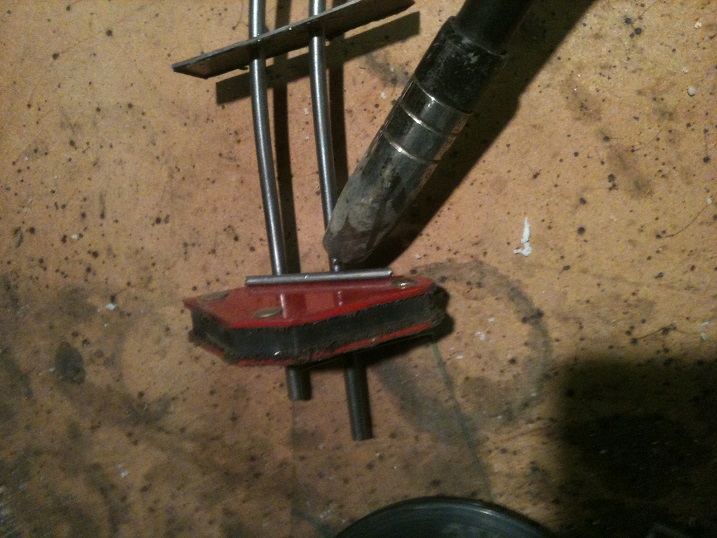
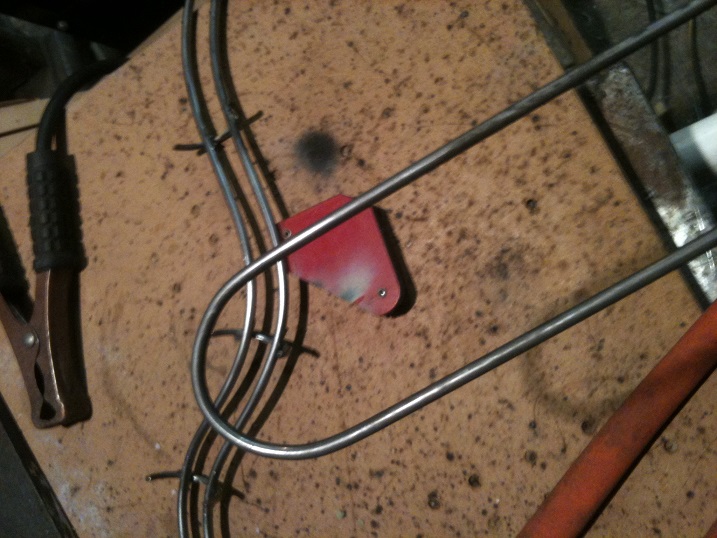
Cut a straight piece of stock, place it on the end of the rail and weld it up with a good tack. This will stop the wireform from twisting out of shape while putting the supports on. Use Welding Magnets (Usually about $3 each from most hardware stores) to hold the wire in position.
Clamp the ground for the welder to one of the jigs - you get a good, dependable circuit and it won't mess you up when you move it.
Time to weld!
Only weld with a Welding Helmet that is tight and won't fall off. If using a auto-darkening helmet, test its function before starting to weld. It should darken from the spark of a lighter.
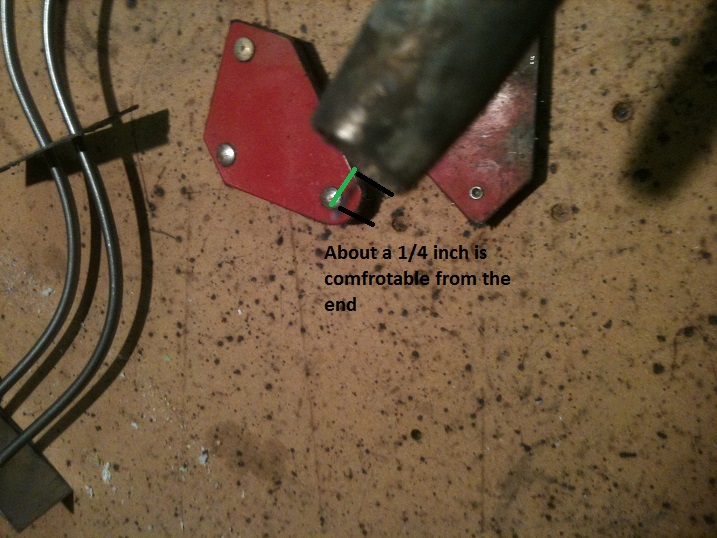
First test the feed of the welder by pushing the button and watching how smooth the wire comes out. Having a jumpy feed can ruin a weld pretty fast. Then trim the wire to a comfortable length.
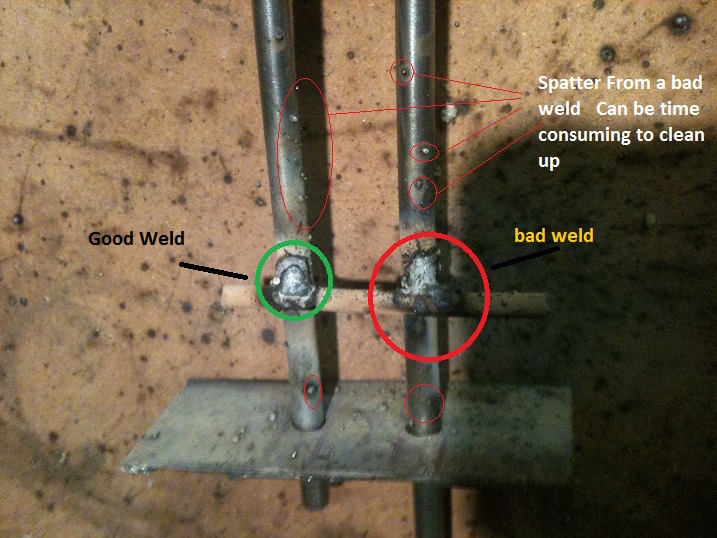
If the wire is too long, it will make spatter all over, while if too short, it could miss the joint and/or clog up the tip of the welder.
A good weld has clear signs of even heating and penetration through both parent metals (the grayish circle that surrounds the weld).
The bad weld example was done by having the wire overfed or having the wand to far from the surface. This creates a large amount of spatter, which on pinball rails is difficult to clean up due to the sizing.
It also has a distinct noise when done incorrectly - it sounds like bacon popping. A good weld has a consistent buzz sound.
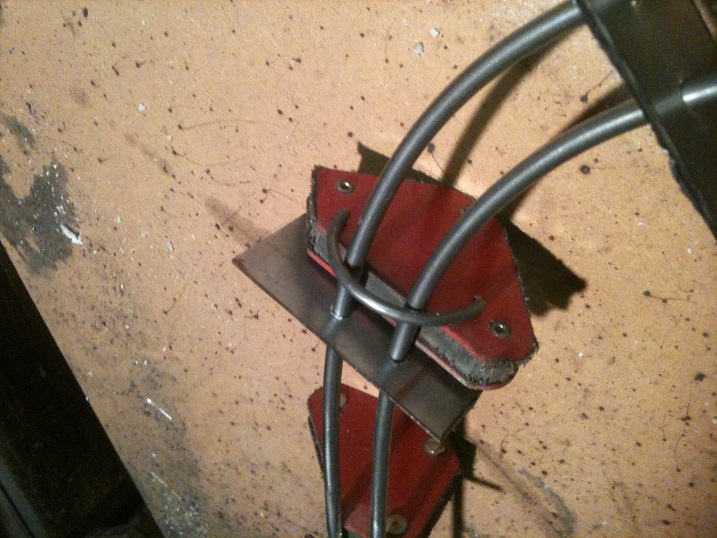
After measuring where you want each support to go on the wireform, flip the rail over and set a half ring that was cut earlier across the two rails, using a magnet to hold it in place.
Make sure the ring is lined up with both sides of the rail. It should flow with curves and should be evenly placed.
A good welding technique to use is called Pushing the puddle. It is basically starting on the thicker material and pushing the molten puddle back into the thinner cross material.
Top Rail
With all the supports are welded, it's time for the top rails.
Take the PVC pipe used to make the rings from earlier and mount it to your workbench. Put the stock where the bend should be under the pipe and pull up, keeping a lot of force at the base.
Take the bent stock and lay it across the rail. Mark where it should get the first welds.
Go down the entire length of the wireform, bending the top rail wire by hand as close as possible to the form without welding. Welding and bending one after the other would cause the areas that have been welded to be much softer from the heat of the weld. This is called Annealing, and your top rail bends will not match the cold bended main rail.
Finishing
Every now and then, bring your wireform back to the machine and test fit to make sure it is not getting warped from the heat of the welder.
During the fitting, mark areas for adding supports to hold the wireform.
After all the welding is complete, quickly run the whole wireform on a Fine Finishing Wire Wheel to clean it up and ready it for powdercoating or plating.
Devices
Displays
Lighting
Most lighting is socketed either by a bayonet or wedge socket. Bayonet is preferred since the bulb is more likely not to wiggle itself out from vibration during play and transport. While pinball started out with incandescent bulbs, most are moving towards LED for many reasons:
- Less power draw
- more color options
- lasts longer which means replacing less often
- Less damaging. The constant heat/cool from incandescent bulbs are known to warp plastics and cause flaking on backglasses.
One drawback of LED's is it doesn't have a ramp-up like incandescent bulbs (instant on), and sometimes they can be so bright it can hurt the eyes. However, products like LED OCD have helped LED's have a more incandescent like appearance.
Medievel Madness is the first pinball to use surface mount LED's soldered to PCB's. Stern has recently followed this technology by moving to SMD LED boards as well.
Jersey jack uses RGB SMD LED's, which can produce an unlimited color selectable color range.
